Testing WAF
This section describes how to connect your domain to WAF on a local PC and then access the site to verify whether WAF works properly.
Before testing WAF, ensure that the protocol, address, and port number used by the origin server of the domain name (for example, www.test.com), and uploaded certificate content and private key if Client Protocol is HTTPS are correct.
Prerequisites
Login credentials have been obtained.
A domain name without using any other proxy has been created.
Connecting Your Domain to WAF Locally
Obtain the CNAME value.
Log in to the management console.
Click
 in the upper left corner of the management console and select a region or project.
Choose Security > Web Application Firewall.
In the navigation pane, choose Domains. Figure 1 shows an example.

Figure 1 Domains page
Note
In the upper part of the domain name list, click Quota details to view the domain name quota.
In the row of the desired domain name, under the Name column, click the domain name you want to test. Figure 2 shows an example.
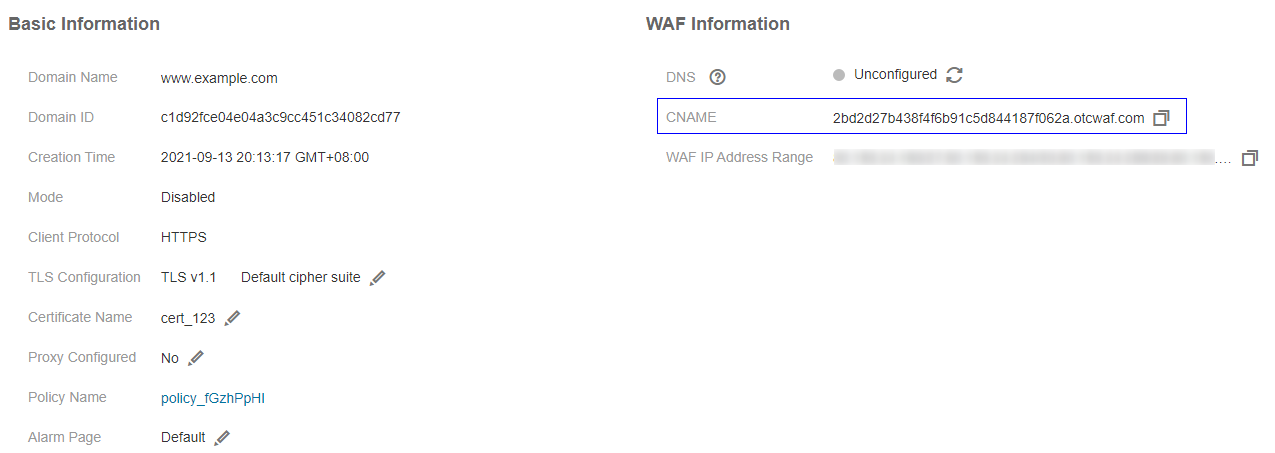
Figure 2 Copying the CNAME value
In the CNAME row, click
 to copy the CNAME value.
Ping the CNAME value and record the corresponding IP address (for example, 192.168.0.1).
Add the domain name and WAF IP address to the hosts file.
Use a text editor, such as Notepad or Notepad++, to open the hosts file. Generally, the hosts file is stored in the C:\Windows\System32\drivers\etc\ directory.
Add the back-to-source IP address of WAF obtained in Step 2 and protected domain name to the hosts file. Figure 3 shows an example.
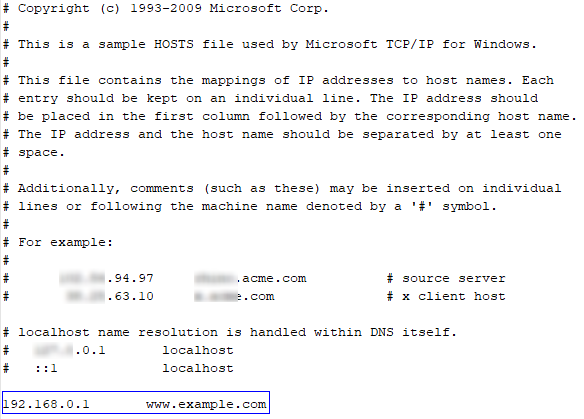
Figure 3 Adding a record
Save the hosts file and ping the protected domain name on the local PC.
It is expected that the resolved IP address is the back-to-source IP address of WAF obtained in Step 2. If the resolved IP address is the origin server address, run the ipconfig/flushdns command in the Windows operating system to refresh the DNS cache.
Verifying Whether WAF Forwarding Is Normal
Clear the browser cache and enter the domain name in the address box of a browser to check whether the website can be accessed.
If the domain name resolves to the back-to-source IP address of WAF and WAF configurations are correct, the website can be accessed.
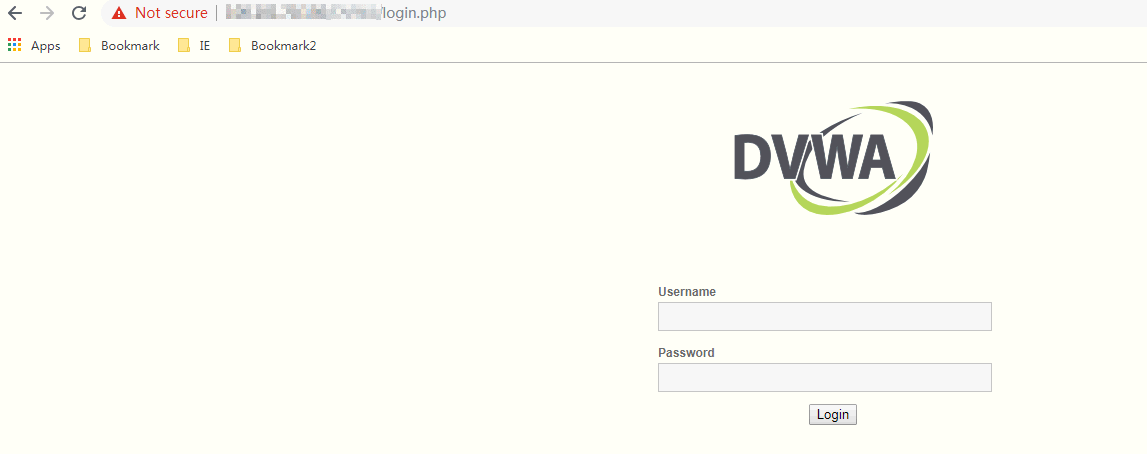
Figure 4 Normal access
Simulate simple web attack commands.
Set the mode of Basic Web Protection to Block. For details, see Enabling Basic Web Protection.
Clear the browser cache, enter http://www.test.com?id=1%20or%201%20=1 in the address box of the browser to simulate an SQL injection attack, and check whether WAF blocks the attack. See Figure 5.
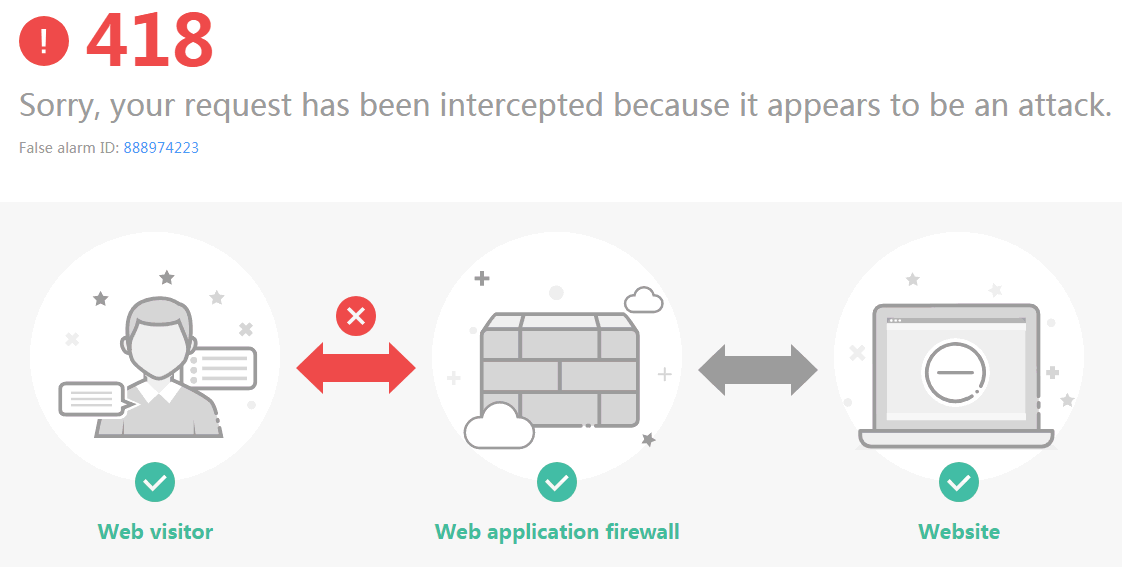
Figure 5 Request blocked
Choose Security > Web Application Firewall. On the displayed page, click Events and view test data on the displayed page. Figure 6 shows an example.

Figure 6 Viewing test data