Adding a Custom Route
Scenarios
Each route table contains a default system route, which indicates that ECSs in a VPC can communicate with each other. You can add custom routes as required to forward the traffic destined for the destination to the specified next hop.
Procedure
Log in to the management console.
Click
 in the upper left corner and select the desired region and project.
On the console homepage, under Network, click Virtual Private Cloud.
In the navigation pane on the left, choose Route Tables.
In the route table list, click the name of the route table to which you want to add a route.
Click Add Route and set parameters as prompted.
You can click + to add more routes.
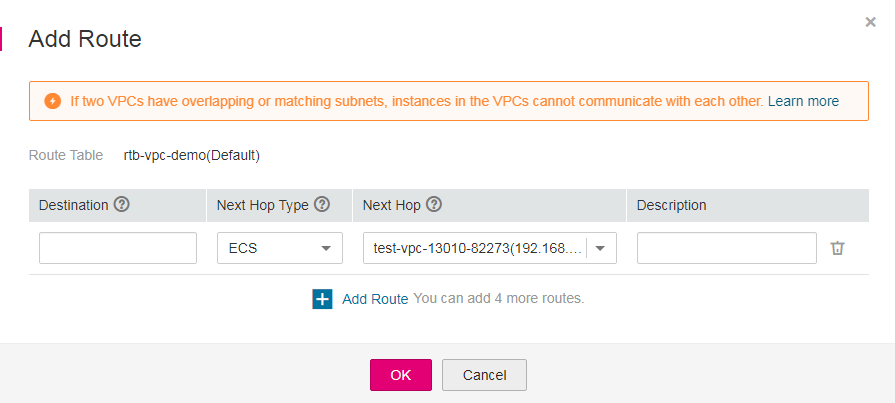
Figure 1 Add Route
Table 1 Parameter descriptions¶ Parameter
Description
Example Value
Destination
The destination CIDR block.
The destination of each route must be unique. The destination cannot overlap with any subnet CIDR block in the VPC.
192.168.0.0/16
Next Hop Type
Set the type of the next hop. For details about the supported resource types, see Table 1.
Note
When you add a custom route to or modify a custom route in a default route table, the next hop type cannot be set to VPN connection or Direct Connect gateway.
ECS
Next Hop
Set the next hop. The resources in the drop-down list box are displayed based on the selected next hop type.
ecs-001
Description
Supplementary information about the route. This parameter is optional.
The route description can contain a maximum of 255 characters and cannot contain angle brackets (< or >).
-Click OK.