Creating a Policy
A policy is a combination of multiple rules, such as basic web protection, blacklist or whitelist, and precise protection rules. A policy can be applied to multiple domain names. This section describes how to create a policy.
Prerequisites
Login credentials have been obtained.
Procedure
Log in to the management console.
Click
 in the upper left corner of the management console and select a region or project.
Choose Security > Web Application Firewall. In the navigation pane, choose Policies.
Click Create Policy in the upper right corner of the list. Figure 1 shows an example.

Figure 1 Creating a policy
Note
In the upper part of the protection policy list, click Quota details to view the quota of the protection policy.
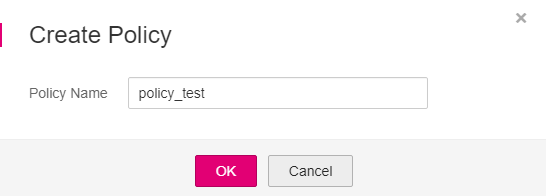
In the dialog box displayed, enter a policy name and click OK. Figure 2 shows an example.

Figure 2 Create Policy dialog box
In the Policy Name column, click the target policy name. On the displayed page, add rules to the policy by referring to Section Rule Configurations.

Figure 3 Policies page
Note
To modify a policy name, click
 next to the target policy name. In the dialog box displayed, enter a new policy name.
After a domain name is created, WAF protection is enabled by default. The mode of Basic Web Protection is Log only (detected attacks are only logged but not blocked.). By default, WAF creates a CC attack protection rule to the policy. The rule can be modified but cannot be deleted.