Introduction to JupyterLab and Common Operations
JupyterLab is an interactive development environment. It is a next-generation product of Jupyter Notebook. JupyterLab enables you to compile notebooks, operate terminals, edit MarkDown text, open interaction modes, and view CSV files and images.
JupyterLab will be a mainstream development environment for developers. JupyterLab supports more flexible and powerful project operations, but has the same components as Jupyter Notebook.
ModelArts supports Jupyter Notebook and JupyterLab. You can use different tools to develop code in the same notebook instance.
Opening JupyterLab
Log in to the ModelArts management console. In the left navigation pane, choose DevEnviron > Notebooks to switch to the Notebooks page.
Select a notebook instance in the Running state and click Open in the Operation column to access the notebook instance.
On the Jupyter page, click Open JupyterLab in the upper right corner to access the JupyterLab page of the notebook instance.
The Launcher page is automatically displayed. You can use all open-source functions. For details, see JupyterLab Documentation.
Creating and Opening a Notebook Instance
On the JupyterLab homepage, click an applicable AI engine in the Notebook area to create a notebook file with the selected framework.
The AI framework supported by each notebook instance varies according to the working environment. The following figure is only an example. Select an AI framework based on the site requirements. For details about all framework versions and Python versions supported by ModelArts, see Supported AI Engines.
The created notebook file is displayed in the navigation pane on the left.
Creating a Notebook File and Opening the Console
A console is essentially a Python terminal, which is similar to the native IDE of Python, displaying the output after a statement is entered.
On the JupyterLab homepage, click an applicable AI engine in the Console area to create a notebook file with the selected framework.
The AI framework supported by each notebook instance varies according to the working environment. The following figure is only an example. Select an AI framework based on the site requirements.
After the file is created, the console page is displayed.
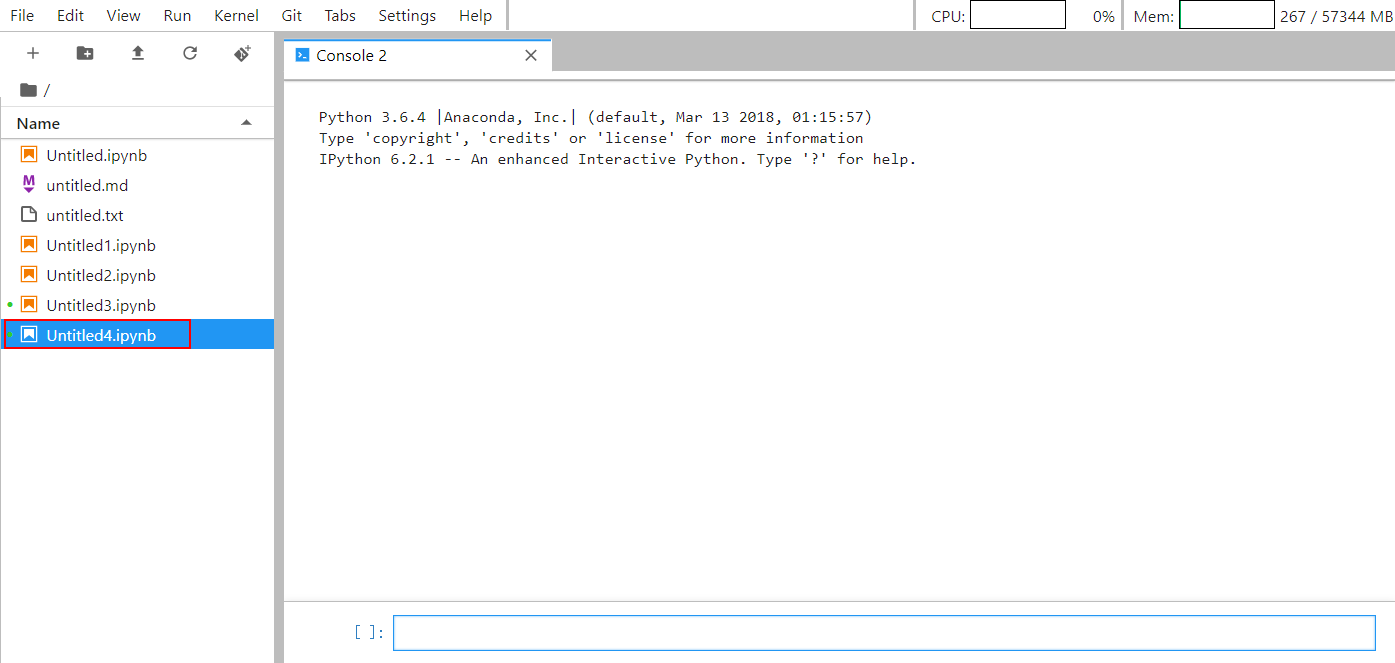
Figure 1 Creating a notebook file (console)
Uploading a File
On the JupyterLab page, you can click Upload File in the upper left corner and select a local file to upload.
The size of the file to be uploaded using this method is limited. If the file size exceeds the limit, use other methods to upload the file. For details, see Uploading Data to JupyterLab.
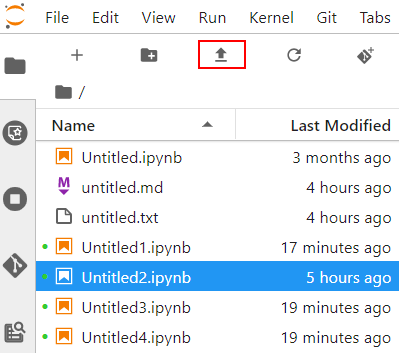
Figure 2 Uploading a file
Editing a File
JupyterLab allows you to open multiple notebook instances or files (such as HTML, TXT, and Markdown files) in the same window and displays them on different tab pages.
Using JupyterLab, you can customize the display of multiple files. In the file display area on the right, you can drag a file to adjust its position. Multiple files can be concurrently displayed.
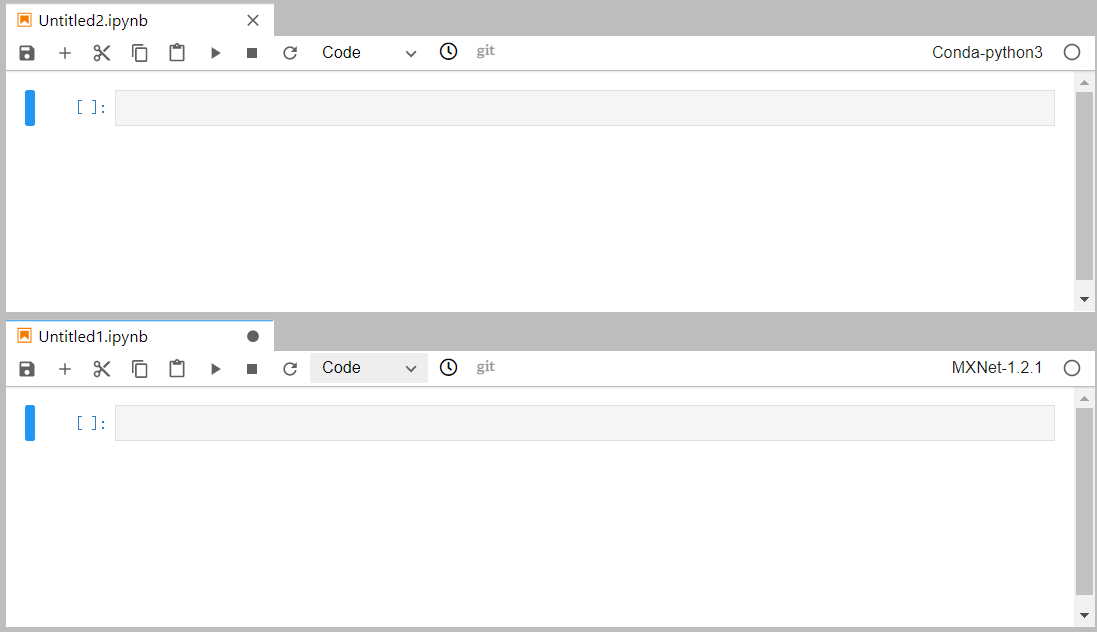
Figure 3 Customized display of multiple files
When writing code in a notebook instance, you can create multiple views of a file to synchronously edit the file and view the execution result in real time.
To open multiple views, open the file and choose File > New View for Notebook.
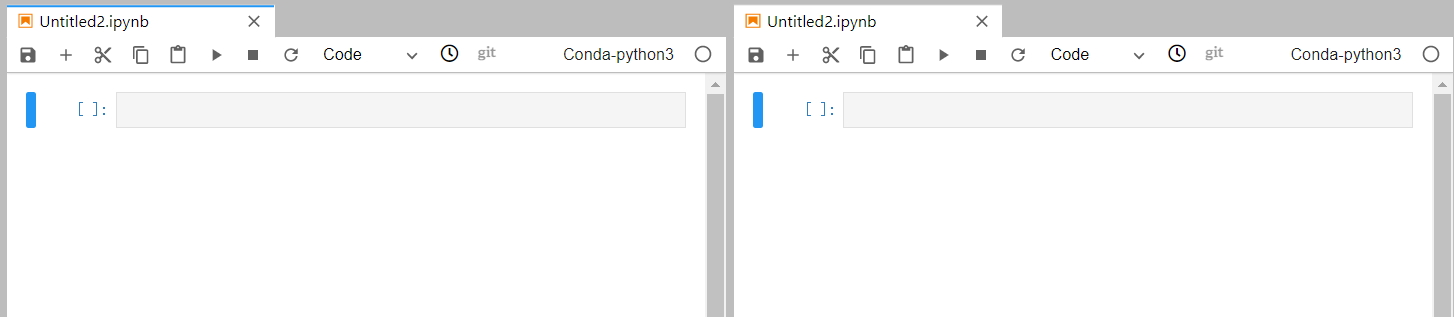
Figure 4 Multiple views of a file
Downloading a File to a Local Computer
Files created in JupyterLab can be directly downloaded to a local computer. The size of the file to be downloaded using this method is limited. If the file size exceeds the limit, use other methods to download the file. For details, see Downloading a File from JupyterLab.
In the JupyterLab file list, right-click the file to be downloaded and choose Download from the shortcut menu. The file is downloaded to the directory set for your browser.
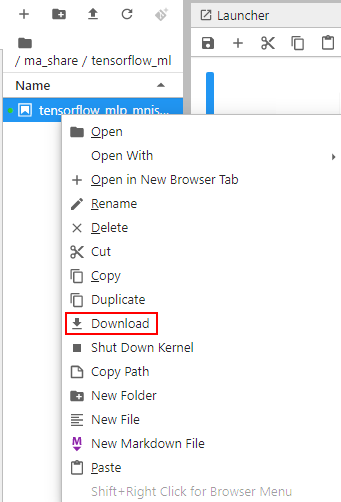
Figure 5 Downloading a file
Common Icons and Plug-ins of JupyterLab

Figure 6 Common icons and plug-ins of JupyterLab
Icon | Description |
|---|---|
| Opens the Launcher page. Then you can quickly create notebook instances, consoles, or other files. |
| Creates a folder. |
| Uploads a file. For details, see Uploading a File. |
| Updates a folder. |


Plug-in | Description |
|---|---|
| Lists files. You can click here to display the list of all files in the notebook instance. |
| Lists ModelArts examples. You can click any example in the list to view its code and version mapping. ModelArts examples vary depending on regions. For details about the ModelArts examples available in a region, see the management console. |
| Displays the terminals and kernels that are running in the current instance. |
| Quick start command. |
| Displays the tab page listing the files that are being opened. |
| Document organization. |


