JupyterLab Overview and Common Operations
JupyterLab is the next-generation web-based interactive development environment of Jupyter Notebook, enabling you to compile notebooks, operate terminals, edit Markdown text, enable interaction, and view CSV files and images.
JupyterLab is the future mainstream development environment for developers. It has the same components as Jupyter Notebook, but offering more flexibility and powerful functions.
Accessing JupyterLab
To access JupyterLab from a running notebook instance, perform the following operations:
Log in to the ModelArts management console. Choose DevEnviron > Notebook in the navigation pane on the left. The notebook list of the new version is displayed.
Click Open in the Operation column of a running notebook instance to access JupyterLab.

Figure 1 Accessing a notebook instance
The Launcher page is automatically displayed. Perform required operations. For details, see JupyterLab Documentation.
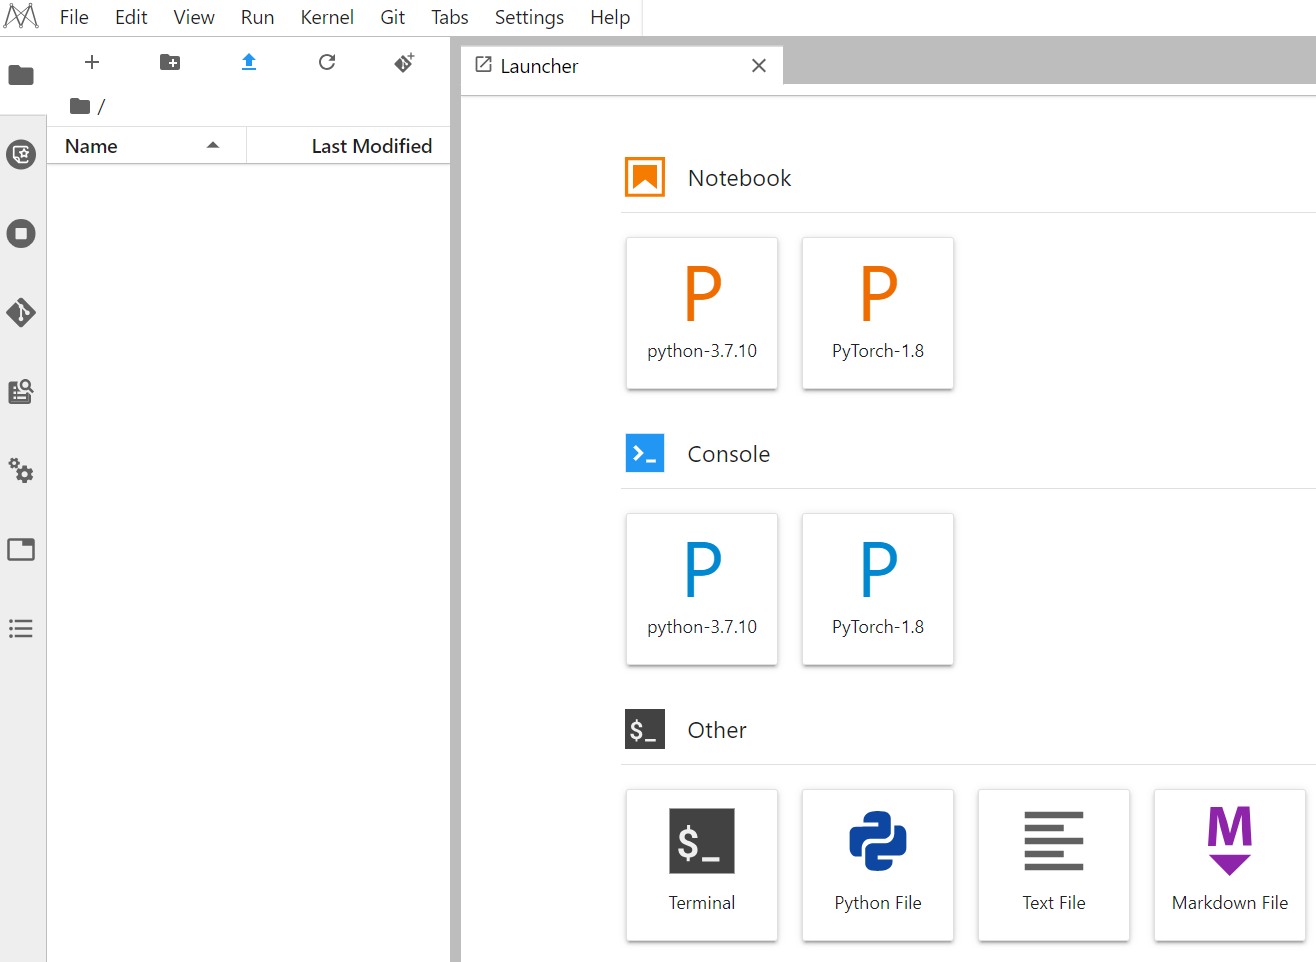
Figure 2 JupyterLab homepage
Notebook: Select a kernel for running notebook, for example, TensorFlow or Python.
Console: Call the terminal for command control.
Other: Edit other files.
Creating an IPYNB File in JupyterLab
On the JupyterLab homepage, click a proper AI engine in the Notebook area to create an IPYNB file.
The AI engines supported by each notebook instance vary depending on the runtime environment. The following figure is only an example. Select an AI engine based on site requirements.
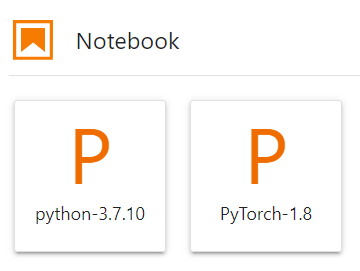
Figure 3 Selecting an AI engine and creating IPYNB file
The created IPYNB file is displayed in the navigation pane on the left.
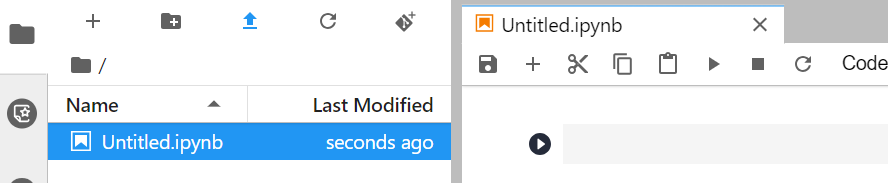
Figure 4 Created IPYNB file
Creating a Notebook File and Accessing the Console
A console is a Python terminal, which is similar to the native IDE of Python, displaying the output after a statement is entered.
On the JupyterLab homepage, click a proper AI engine in the Console area to create a notebook file.
The AI engines supported by each notebook instance vary depending on the runtime environment. The following figure is only an example. Select an AI engine based on site requirements.
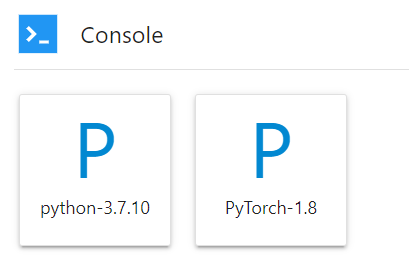
Figure 5 Selecting an AI engine and creating a console
After the file is created, the console page is displayed.
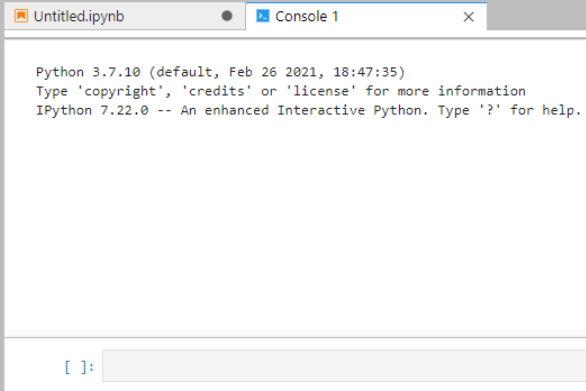
Figure 6 Creating a notebook file (console)
Editing a File in JupyterLab
JupyterLab allows you to open multiple notebook instances or files (such as HTML, TXT, and Markdown files) in one window and displays them in different tabs.
In JupyterLab, you can customize the display of multiple files. In the file display area on the right, you can drag a file to adjust its position. Multiple files can be concurrently displayed.

Figure 7 Customized display of multiple files
When writing code in a notebook instance, you can create multiple views of a file to synchronously edit the file and view execution results in real time.
To open multiple views, open an IPYNB file and choose File > New View for Notebook.
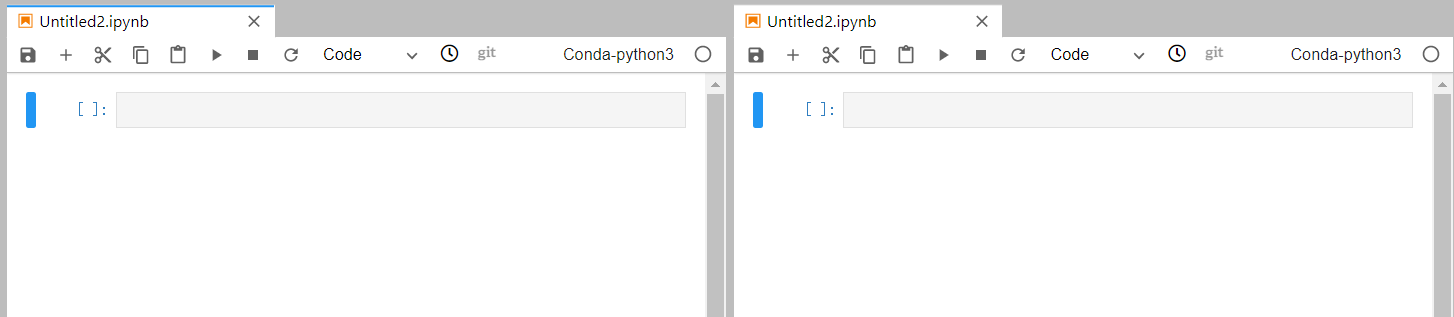
Figure 8 Multiple views of a file
Before coding in the code area of an IPYNB file in JupyterLab, add an exclamation mark (!) before the code.
For example, install an external library Shapely.
!pip install Shapely
For example, obtain PythonPath.
!echo $PYTHONPATH
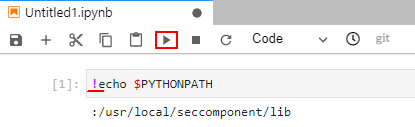
Figure 9 Running code
Renewing or Automatically Stopping a Notebook Instance
If you enable auto stop when you created or started a notebook instance, the remaining duration for stopping the instance is displayed in the upper right corner of JupyterLab. You can click the time for renewal.
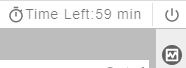
Figure 10 Remaining duration
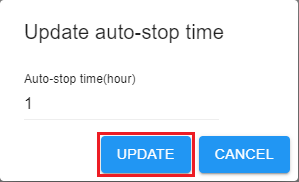
Figure 11 Renewing an instance
Setting a Font
After accessing a ModelArts notebook instance from iOS, set the font to prevent abnormal display.
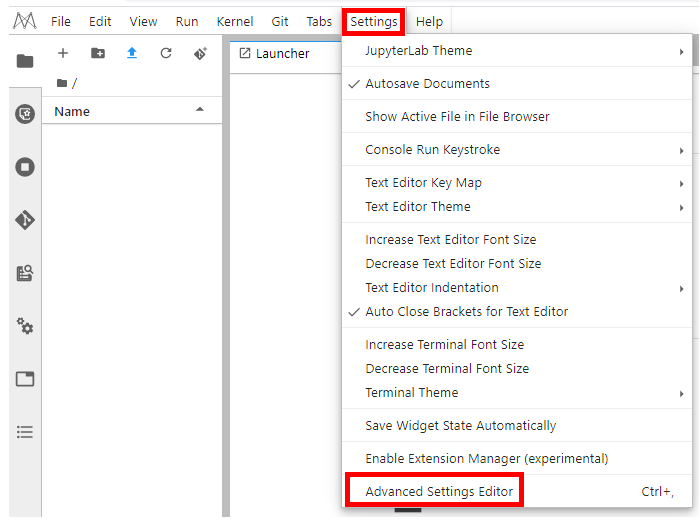
Figure 12 Advanced Settings Editor
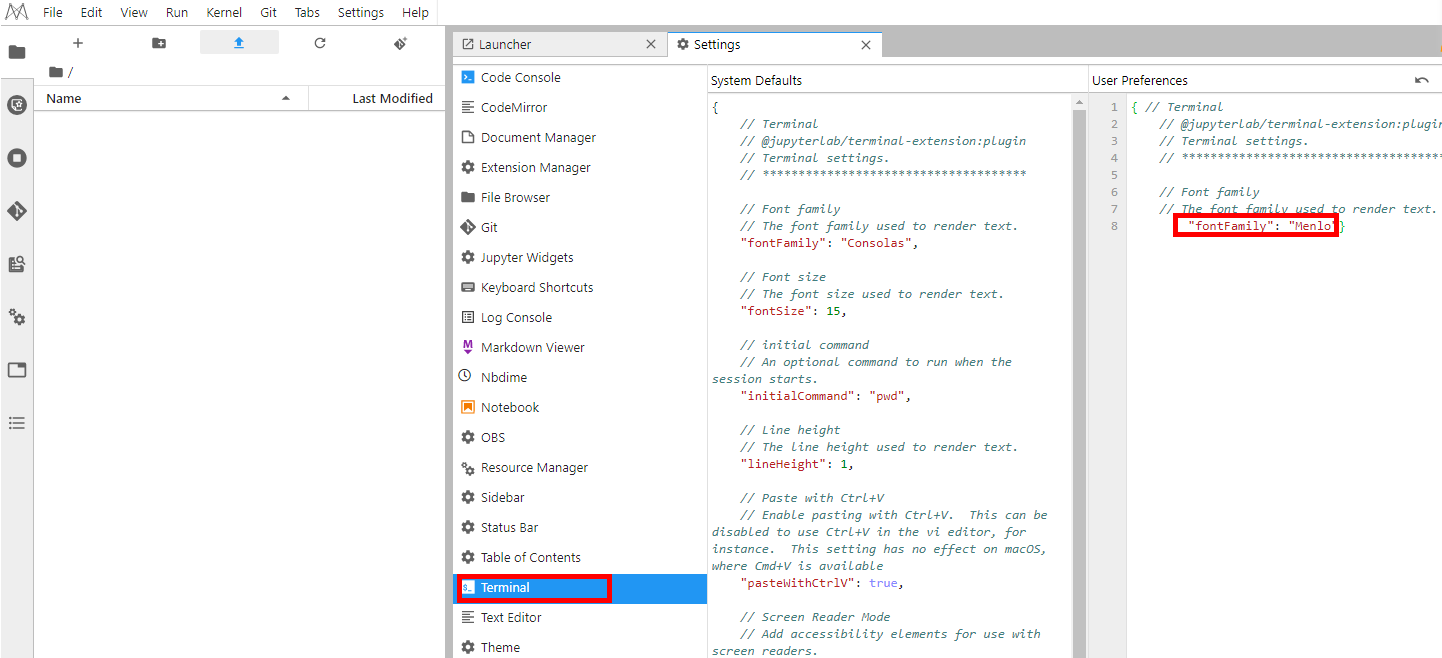
Figure 13 Set fontFamily to Menlo.
Common JupyterLab Buttons and Plug-ins
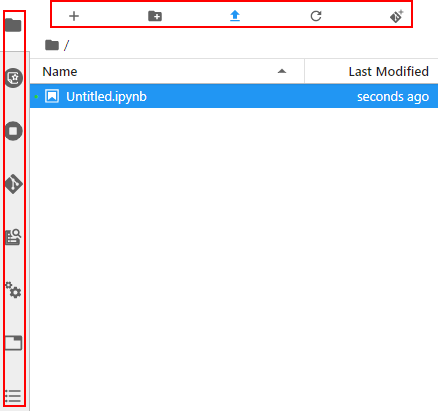
Figure 14 Common JupyterLab buttons and plug-ins
Button | Description |
|---|---|
| Open the Launcher page, on which you can quickly create notebook instances, consoles, or other files. |
| Create a folder. |
| Upload files. |
| Refresh the file directory. |
| Git plug-in, which can be used to access the GitHub code library associated with the notebook instance. |


Plug-in | Description |
|---|---|
| List files. Click this button to show all files in the notebook instance. |
| List ModelArts examples. ModelArts examples vary based on regions. For details about the ModelArts examples available in a region, see the management console. |
| Display the terminals and kernels that are running in the current instance. |
| Git plug-in, which can be used to quickly access the GitHub code library. |
| Quickly show commands. |
| Property inspector. |
| Display the tabs for the opened files. |
| Show the document organization. |


Figure 15 Buttons in the navigation bar
Button | Description |
|---|---|
File | Actions related to files and directories, such as creating, closing, saving, reloading, renaming, exporting, and printing notebooks. |
Edit | Actions related to editing documents and other activities in the IPYNB file, such as undoing, redoing, or cutting cells. |
View | Actions that alter the appearance of JupyterLab, such as showing the bar or expanding code. |
Run | Actions for running code in different activities such as notebooks and code consoles. |
Kernel | Actions for managing kernels, such as interrupting, restarting, or shutting down a kernel. |
Git | Actions on the Git plug-in, which can be used to quickly access the GitHub code library. |
Tabs | A list of the open documents and activities in the dock panel. |
Settings | Common settings and an advanced settings editor. |
Help | A list of JupyterLab and kernel help links. |

Figure 16 Buttons in the menu bar of an IPYNB file
Button | Description |
|---|---|
| Save a file. |
| Add a new cell. |
| Cut the selected cell. |
| Copy the selected cell. |
| Paste the selected cell. |
| Execute the selected cell. |
| Terminate a kernel. |
| Restart a kernel. |
| There are four options in the drop-down list: Code (Python code), Markdown (Markdown code, typically used for comments), Raw (a conversion tool), and - (not modified) |
| View historical code versions. |
| Git plug-in. The gray button indicates that the plug-in is unavailable in the current region. |
| Instance flavor. |
| Kernel for you to select. |
| Code running status. |


 indicates the code is being executed.
Monitoring Resources
To obtain resource usage, select Resource Monitor in the right pane. The CPU usage and memory usage can be viewed.
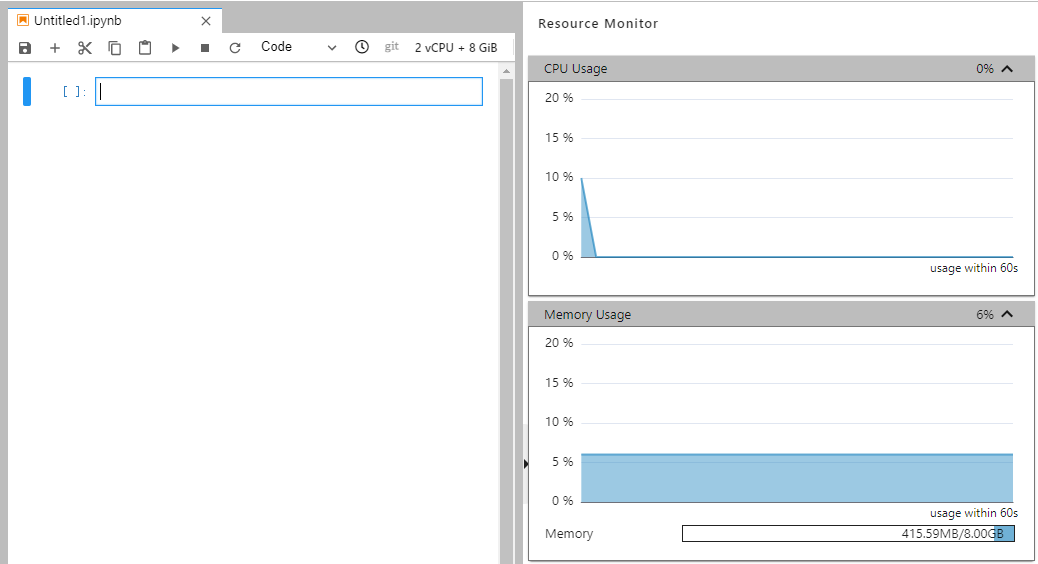
Figure 17 Resource usage