Enabling/Disabling Scheduled Static WTP
You can schedule WTP protection to allow website updates in specific periods.
Note
Exercise caution when you set the periods to disable WTP, because files will not be protected in those periods.
Rules for Setting an Unprotected Period
Unprotected period >= 5 minutes
Unprotected period < 24 hours
Periods (except for those starting at 00:00 or ending at 23:59) cannot overlap and must have an at least 5-minute interval.
A period cannot span two days.
The server time is used as a local time base.
Enabling/Disabling Scheduled Static WTP
Log in to the management console.
Click
 in the upper left corner of the page, select a region, and choose Security > Host Security Service. The HSS page is displayed.
Choose Prevention > Web Tamper Protection. Click Configure Protection in the Operation column.
Note
If your servers are managed by enterprise projects, you can select an enterprise project to view or operate the asset and scan information.
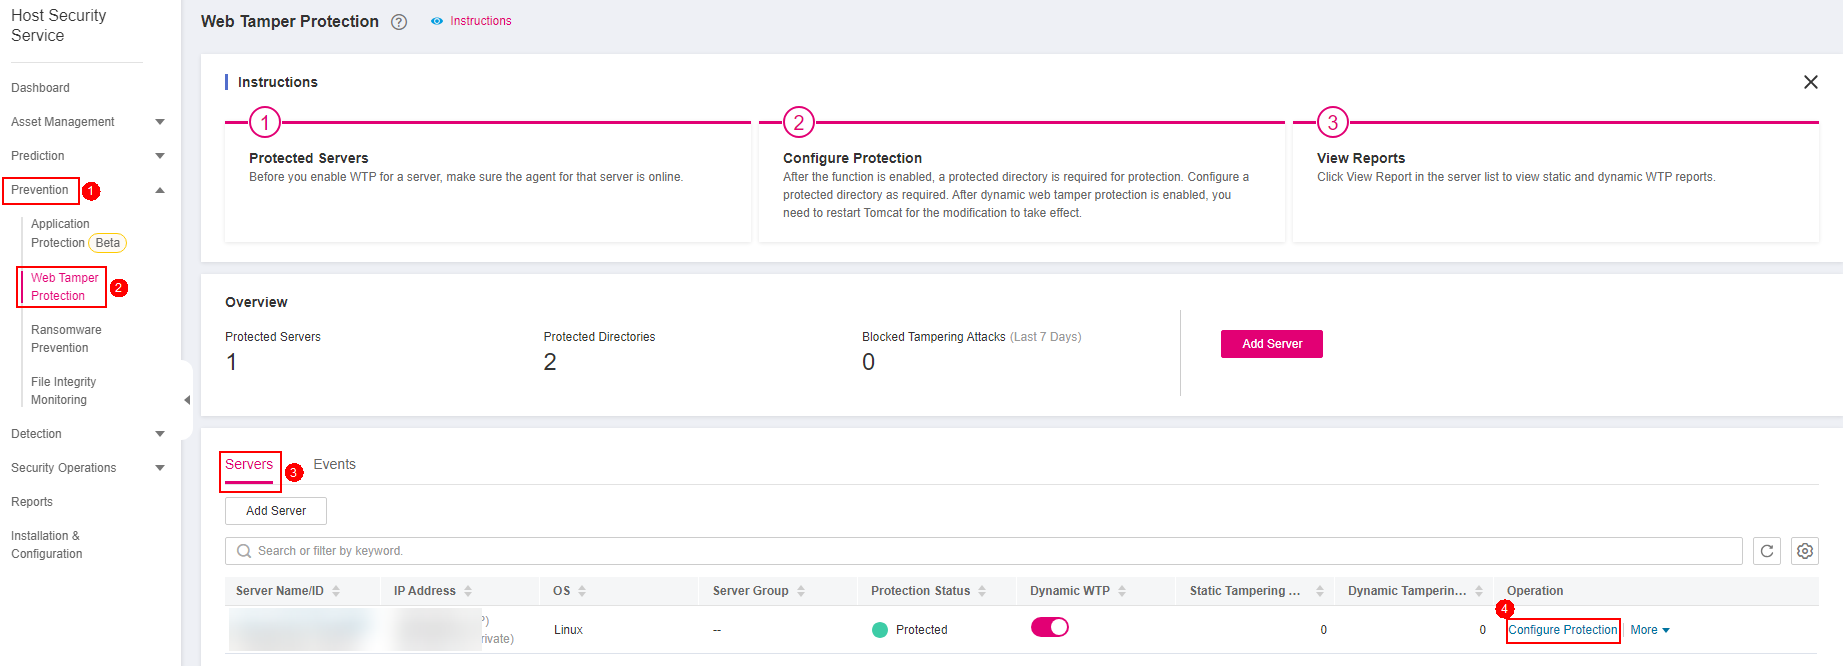
Figure 1 Entering the page of protection settings
On the Configure Protection tab, click Settings under Scheduled Protection.
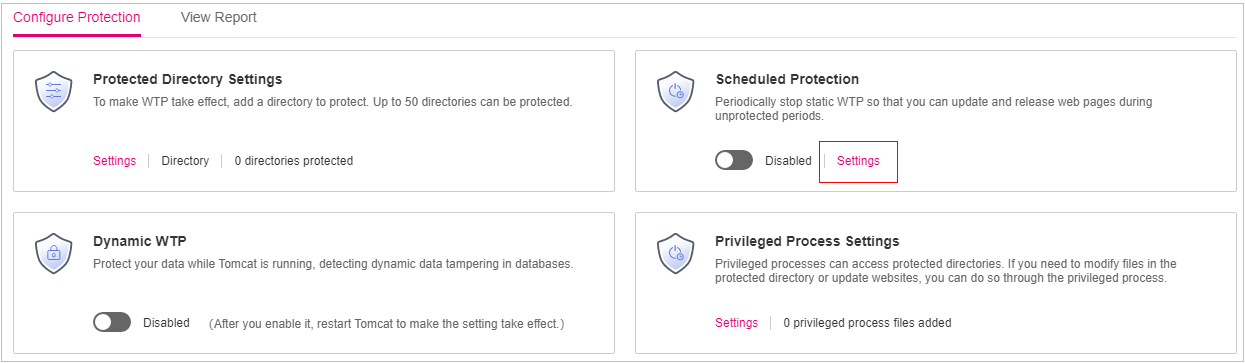
Figure 2 Configuring scheduled protection
Set the unprotected period and days in a week to automatically disable protection.
Click Add Unprotected Period. Configure parameters in the dialog box that is displayed.

Figure 3 Adding an unprotected period
Note
Configuration constraints:
Unprotected period >= 5 minutes
Unprotected period < 24 hours
Periods (except for those starting at 00:00 or ending at 23:59) cannot overlap and must have an at least 5-minute interval.
A period cannot span two days.
The server time is used as a time base.
Click OK.
Select the days to disable protection.
For example, if you select Mon., Thu., and Sat., the server automatically disables the WTP function during the unprotected period on these days.

Figure 4 Selecting days to disable protection
Click OK.
Return to the Configure Protection tab and toggle on
 to enable Scheduled Protection.
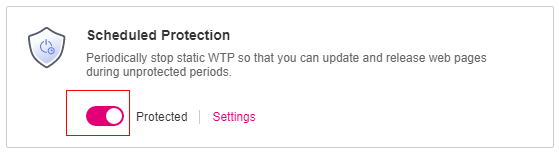
Figure 5 Enabling scheduled protection