Step 2: Preparing a DIS Application Development Environment
Before developing DIS applications, prepare an application development environment, and then obtain a software development kit (SDK) and sample project and import them to the development environment.
Prerequisites
JDK 1.8 or later has been installed.
Eclipse has been installed.
Procedure
Configure a JDK using Eclipse.
Start Eclipse and choose Window > Preferences. The Preferences dialog box is displayed.
In the navigation tree, choose Java. On the Java page, configure general settings for Java development and then click OK.
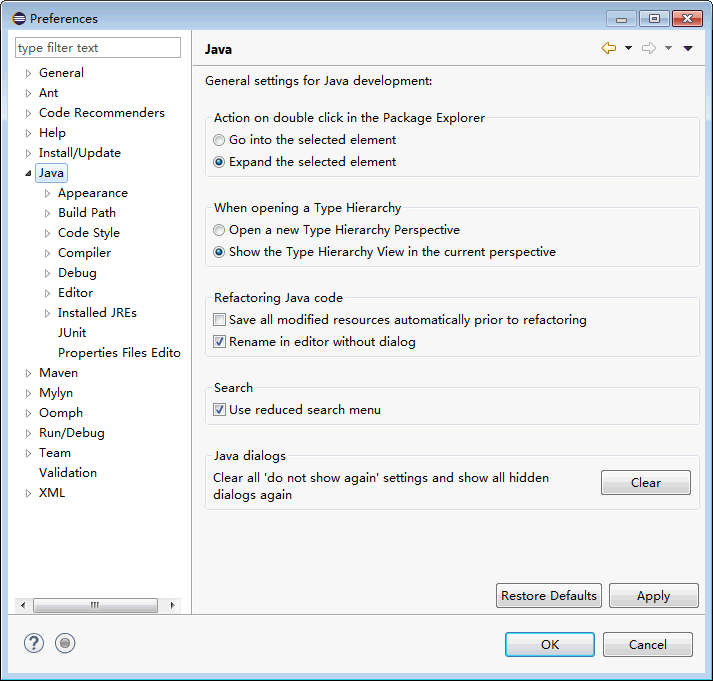
Figure 1 Preferences
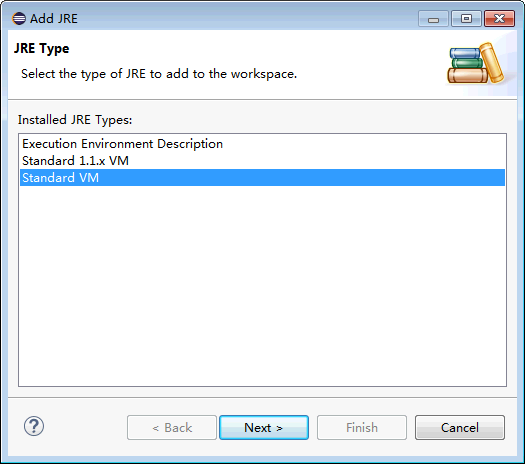
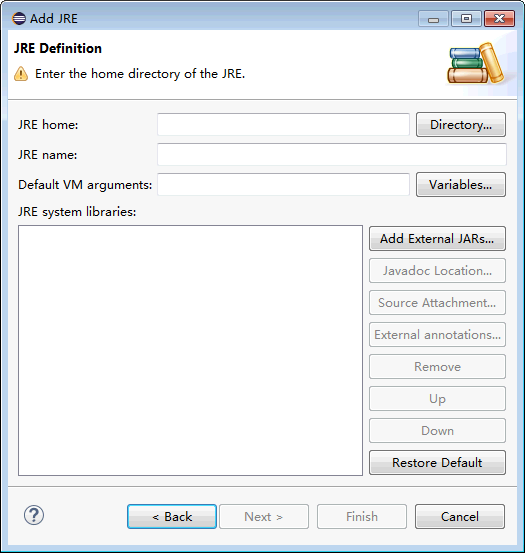
In the navigation tree, choose Java > Installed JREs.
Ensure that configured JDK environmental variables are displayed on the Installed JREs page. Then go to 1.c.i.
To configure different variables for different versions of JDK, perform 1.c.ii to 1.c.iv.
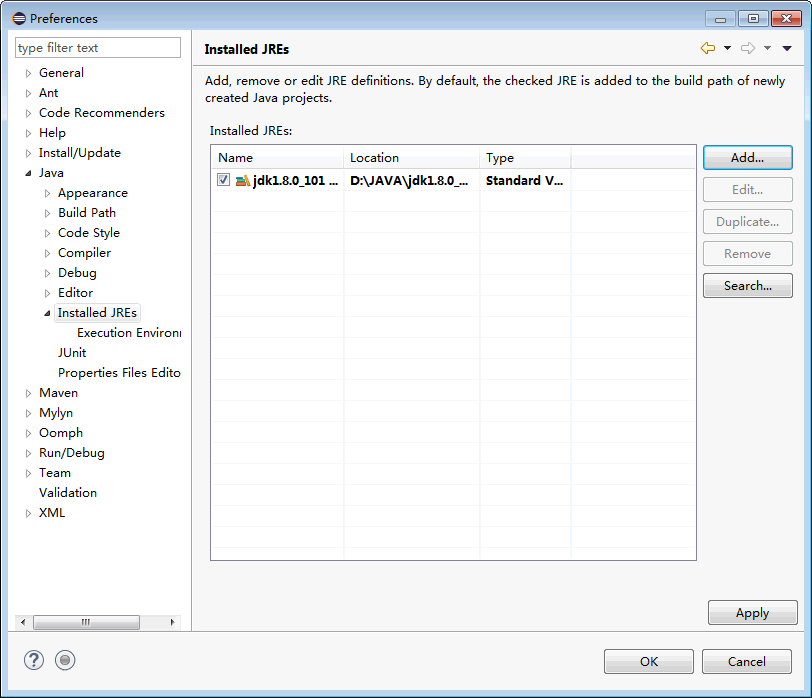
Figure 2 Installed JREs
Download resource packages.
Download the DIS SDK from https://dis.obs.eu-de.otc.t-systems.com/dis/download/dis-sdk-1.2.3.zip and its integrity check file from https://dis.obs.eu-de.otc.t-systems.com/dis/download/dis-sdk-1.2.3.zip.sha256sum.
Import the Eclipse project.
Start Eclipse. Choose File > Import. The Import dialog box is displayed.
Choose General > Existing Projects into Workspace and click Next. The Import dialog box is displayed.
Click Browse and select a save location for the dis-sdk-demo sample project. In the Projects area, select a sample project.
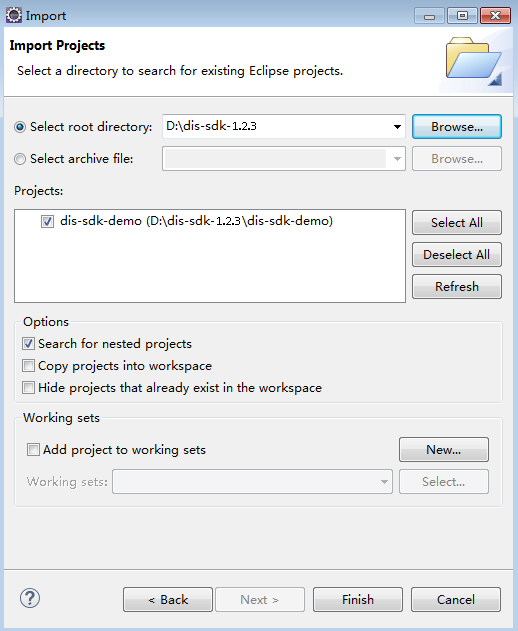
Figure 5 Importing a project
Click Finish.
Configure the demo project.
Set the project code to UTF-8.
In the navigation tree, right-click the required project under Project Explorer and choose Properties from the shortcut menu. The Properties for dis-sdk-demo dialog box is displayed.
In the navigation tree, choose Resource. The Resource page is displayed in the right pane.
In the Other drop-down list, select UTF-8.
Click Apply and Close.
Import a dependency package.
In the navigation pane, choose Project Explorer. Right-click the chosen project and choose Properties from the shortcut menu.
In the navigation tree, choose Java Build Path. The Java Build Path page is displayed in the right pane.
Click the Libraries tab, and then click Add External JARs. The JAR Selection dialog box is displayed.
Select the directory where the dis-sdk folder is located and click Open.
On the Properties for dis-sdk-demo page, click Apply and Close to import all the .jar files in the current path and the third_lib folder to the project.

Figure 6 Java Build Path
Add the JDK.
In the navigation pane, choose Project Explorer. Right-click the chosen project and choose Properties from the shortcut menu.
In the navigation tree, choose Java Build Path. The Java Build Path page is displayed in the right pane.
Click the Libraries tab, and then click Add Library. The Add Library dialog box is displayed.
Select JRE System Library and click Next. Verify that the version of Workspace default JRE is jdk1.8 or later.
Click Finish to exit the Add Library dialog box.
Click Apply and Close.
Initialize a DIS client sample. For details about endpoint, ak, sk, region, and projectId, see Obtaining Authentication Information.