Migrating Images
Migrate the images stored in the image repository of CCE 1.0 to CCE 2.0.
Prerequisites
A VM is available. The VM is bound to a public IP address and can access the Internet. Docker (earlier than 1706) and jq have been installed on the VM.
Configure an access whitelist for Docker, and add the access addresses of the image repositories of CCE 1.0 and CCE 2.0 to the --insecure-registry parameter of Docker.
Procedure
Obtain a docker login command from the image repository page of CCE 2.0.
Log in to the CCE 2.0 console. In the navigation pane, choose Image Repository.
In the image repository list, click the name of the target image repository. On the Pull/Push Guide tab page, click Generate the Docker login command.
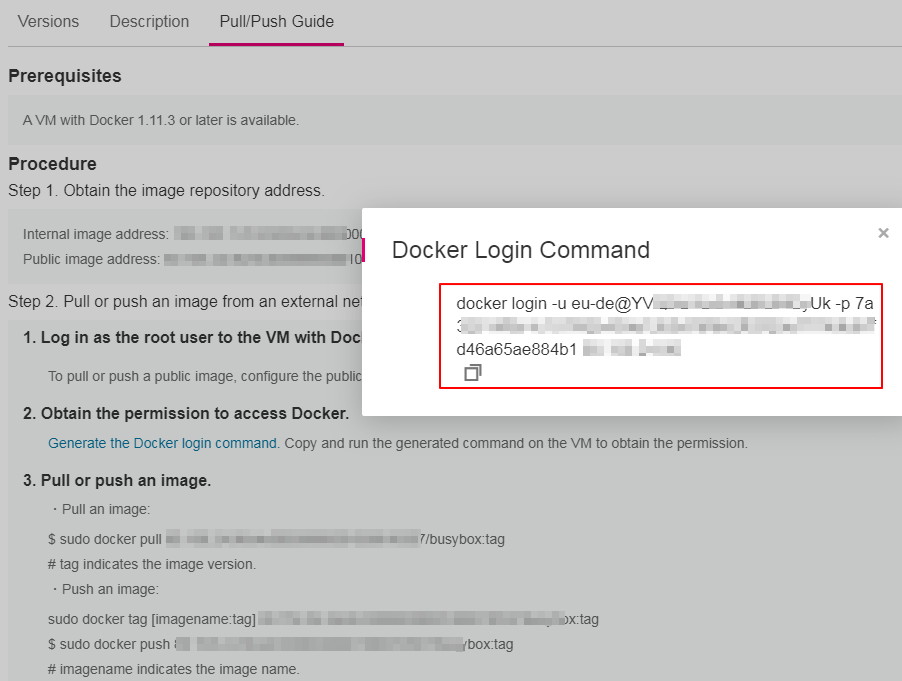
Figure 1 Generate the Docker login command
Log in to the CCE 1.0 console, and obtain the docker login configuration file dockercfg.json.

Figure 2 Obtain the docker login configuration file
Log in to the Docker client as user root, and copy the dockercfg.json file obtained in Step 2 and the image migration tool to the /root directory.
In the /root directory, create a file named image_list. In the file, write the images to be migrated in the following format. Each image occupies a row.
For example, write the BusyBox image into the image_list file as follows:
10.44.200.121:443/otc0***507/busybox:latest
Run the following command to automatically migrate the images to the image repository of CCE 2.0:
bash migrate.sh "{The login command obtained in Step 1"
After the preceding command is executed, go to the image repository of CCE 2.0. You can find that images have been successfully pushed.
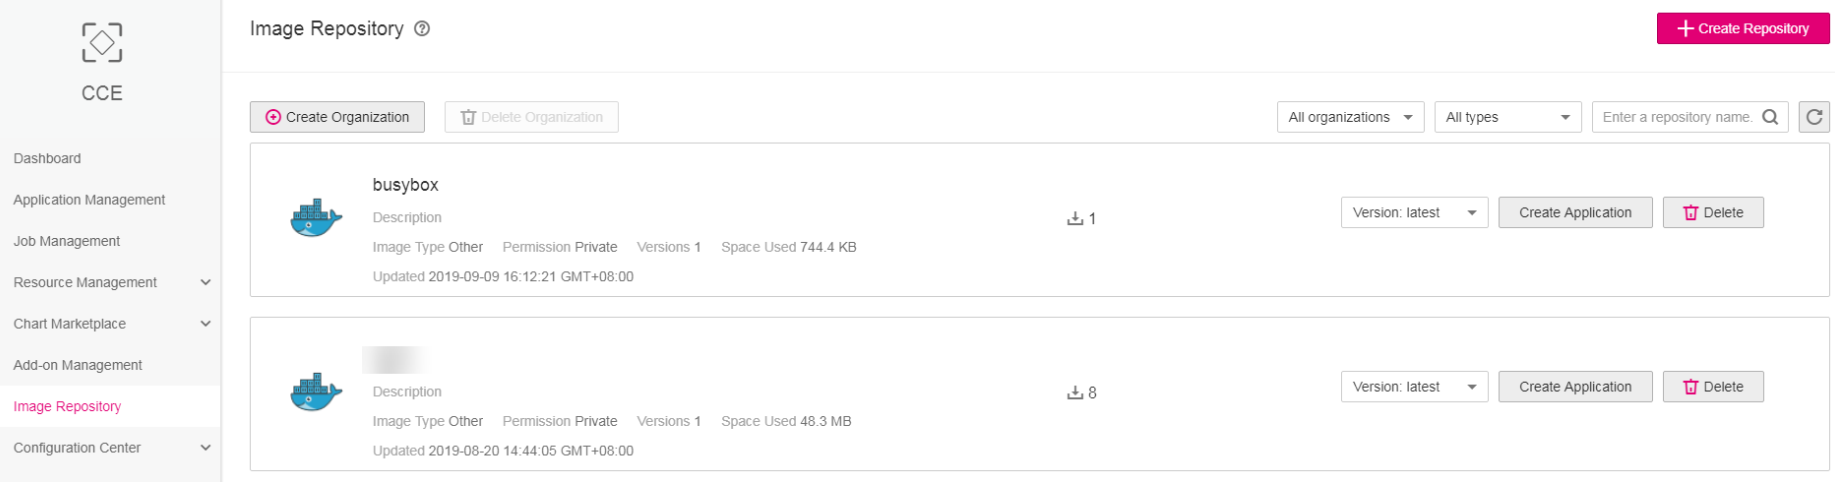
Figure 3 Migrate the image