Managing Public NAT Gateways
Scenarios
After a public NAT gateway is created, you can modify the name, specifications, or description of it. You can also delete public NAT gateways that are no longer needed to release resources and reduce costs.
Using a public NAT gateway of more robust specifications does not affect services, but if you switch to a public NAT gateway of less robust specifications, ensure that its capacity can still be enough to meet your service requirements.
Note
If you downgrade a NAT gateway, make sure that the new specification can meet your service requirements.
Upgrading a NAT gateway does not affect services.
Modifying a Public NAT Gateway
Log in to the management console.
Click
 in the upper left corner and select the desired region and project.
In the upper left corner of the page, click
 to expand the service list and choose Network > NAT Gateway.
The Public NAT Gateways page is displayed.
Locate the row that contains the public NAT gateway you want to modify and click Modify in the Operation column.
Modify the name, specifications, or description of the public NAT gateway.
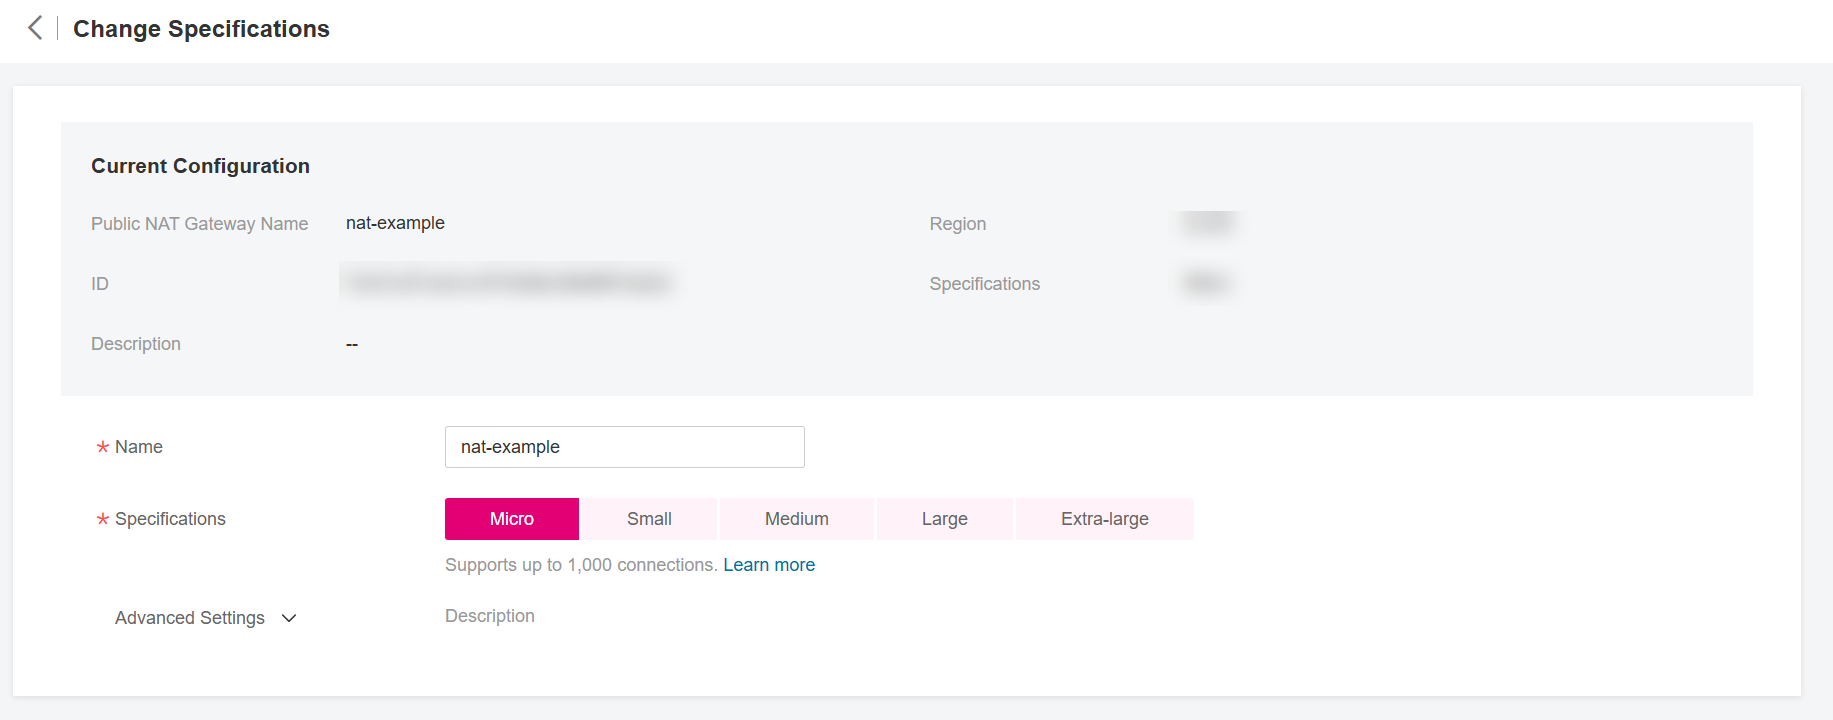
Figure 1 Modify Specifications
Click OK.
Viewing a Public NAT Gateway
Log in to the management console.
Click
in the upper left corner and select the desired region and project.In the upper left corner of the page, click
to expand the service list and choose Network > NAT Gateway.The Public NAT Gateways page is displayed.
Click the name of the public NAT gateway.
View details of the public NAT gateway.
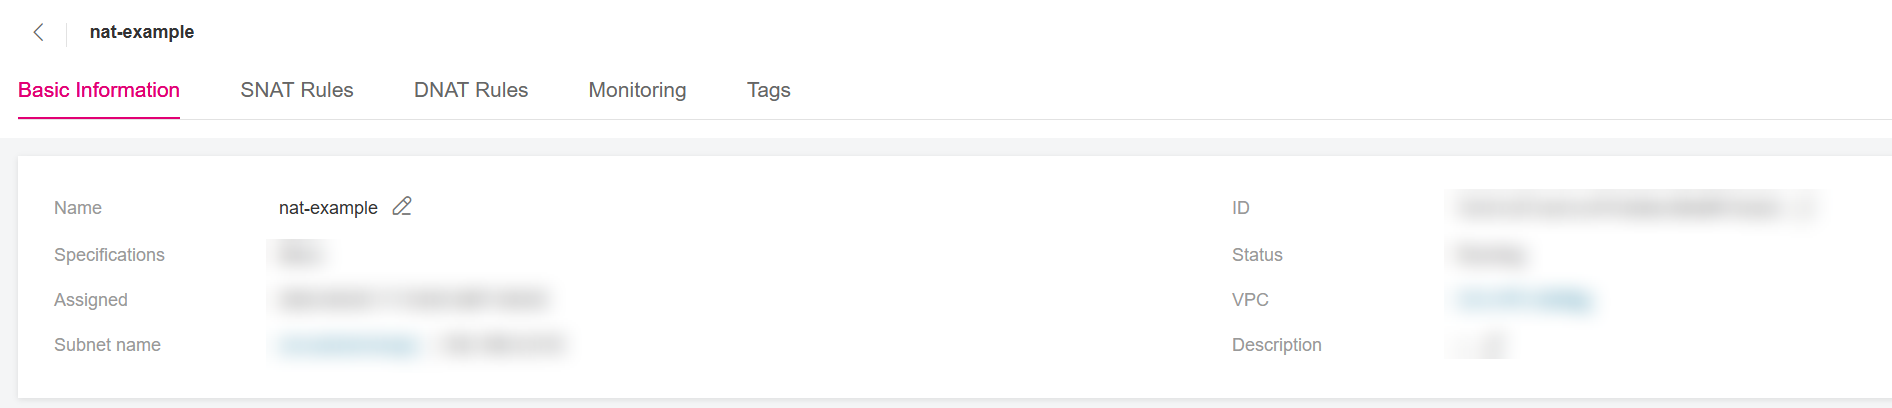
Figure 2 Public NAT gateway details
Deleting a Public NAT Gateway
Log in to the management console.
Click
in the upper left corner and select the desired region and project.In the upper left corner of the page, click
to expand the service list and choose Network > NAT Gateway.The Public NAT Gateways page is displayed.
On the displayed page, locate the public NAT gateway that you want to delete and click Delete in the Operation column.
In the displayed dialog box, enter DELETE.
Click OK.