Uploading OBS Files to JupyterLab
In JupyterLab, you can download files from OBS to a notebook instance.
Use JupyterLab to open a running notebook instance.
Click
 in the navigation bar on the top of the JupyterLab window. In the displayed window, click
  on the left to go to the OBS file upload page.
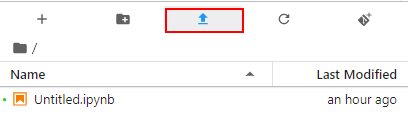
Figure 1 File upload icon
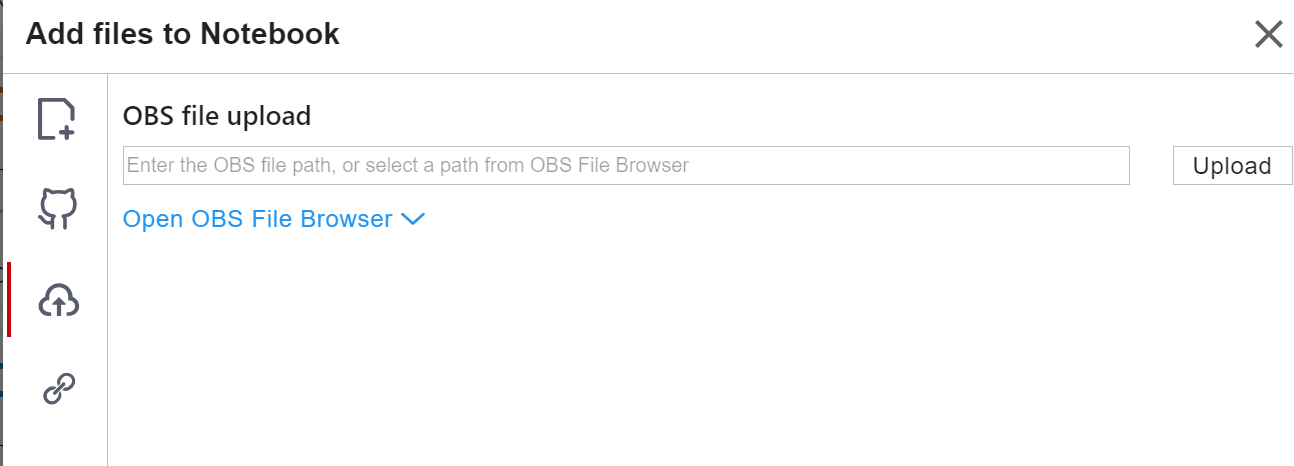
Figure 2 OBS file upload
Set an OBS file path in either of the following ways:
Method 1: Enter a valid OBS file path in the text box and click Upload.
Note
Enter an OBS file path instead of a folder path. Otherwise, the upload fails.
Method 2: Open OBS File Browser, select an OBS file path, and click Upload.
Error Handling
A message is displayed, indicating that the file fails to be uploaded. The possible causes are as follows:
The OBS path is set to a folder instead of a file path.
The file in OBS is encrypted. In this case, go to the OBS console and check whether the file is encrypted.
The OBS bucket and notebook instance are not in the same region. Ensure that the target OBS bucket and notebook instance are in the same region. If the OBS bucket and notebook instance are in different regions, the access to OBS is denied.
The account does not have the permission to access the OBS bucket. In this case, ensure that the notebook account has the permission to read data in the OBS bucket.