Upload Scenarios and Entries
JupyterLab provides multiple methods for uploading files.
Methods for Uploading a File
For a file that does not exceed 100 MB, directly upload it, and details such as the file size, upload progress, and upload speed are displayed.
For a file that exceeds 100 MB but does not exceed 5 GB, upload the file to OBS (an object bucket or a parallel file system), and then download the file from OBS to a notebook instance. After the download is complete, the file is deleted from OBS.
For a file that exceeds 5 GB, upload it by calling ModelArts SDK or MoXing.
For a file that shares the same name with an existing file in the current directory of a notebook instance, overwrite the existing file or cancel the upload.
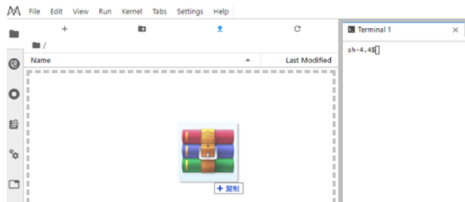
For a folder, compress it into a package and upload the package to a notebook instance. Then, decompress it on the terminal page.
unzip xxx.zip # Directly decompress the package in the path where the package is stored.
For more details, search for the decompression command in mainstream search engines.
Prerequisites
You have used JupyterLab to open a running notebook environment.
Upload Entry 1: Dragging a File to the File Browser Window
Drag the file to the blank area on the left of the JupyterLab window and upload it.
Upload Entry 2: Clicking the File Upload Icon and Uploading a File
Click  in the navigation bar on the top of the window. In the displayed dialog box, drag or select a local file and upload it.
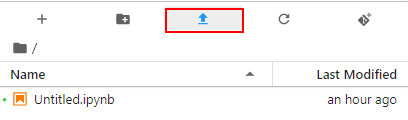
Figure 1 File upload icon
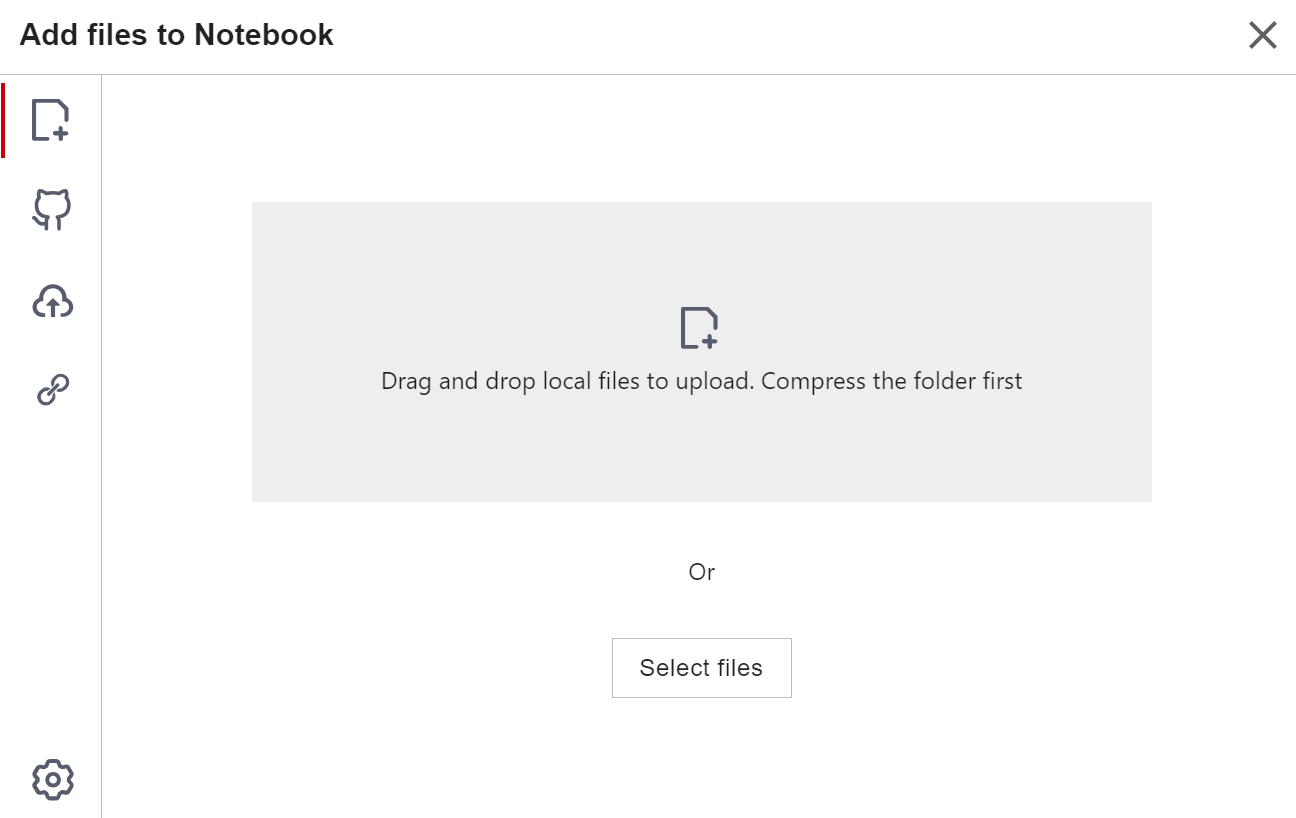
Figure 2 File uploading page