Online Full Migration of Redis from Another Cloud with redis-shake
redis-shake is an open-source Redis migration tool. Its rump mode allows you to obtain the full data of a source Redis using the SCAN command and write the data to a target Redis. This migration solution does not involve the SYNC or PSYNC command and can be widely used for migration between self-built Redis and cloud Redis.
This section describes how to use the rump mode of redis-shake to migrate the full Redis data of another cloud service vendor at a time online to DCS.
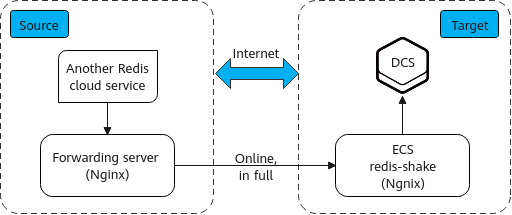
Figure 1 Data flow in this solution
Prerequisites
A DCS Redis instance has been created on the target cloud.
An ECS has been created on the target cloud for running redis-shake.
The ECS is in the same VPC as the DCS Redis instance and bound with an EIP.
The rump mode does not support incremental data migration. To keep data consistency, stop writing data to the source Redis before migration.
This solution applies only to same-database mapping and does not apply to inter-database mapping.
If the source Redis has multiple databases (there are databases other than DB0), and your DCS instance is a cluster, this solution cannot be used. (Cluster DCS instances support only DB0.)
Procedure
Install Nginx on the ECS and the source forwarding server. The following describes how to install Nginx on an ECS running CentOS 7.x. The commands vary depending on the OS.
Add Nginx to the Yum repository.
sudo rpm -Uvh http://nginx.org/packages/centos/7/noarch/RPMS/nginx-release-centos-7-0.el7.ngx.noarch.rpm
Check whether Nginx has been added successfully.
yum search nginx
Install Nginx.
sudo yum install -y nginx
Install the stream module.
yum install nginx-mod-stream --skip-broken
Start Nginx and set it to run automatically upon system startup.
sudo systemctl start nginx.service
sudo systemctl enable nginx.service
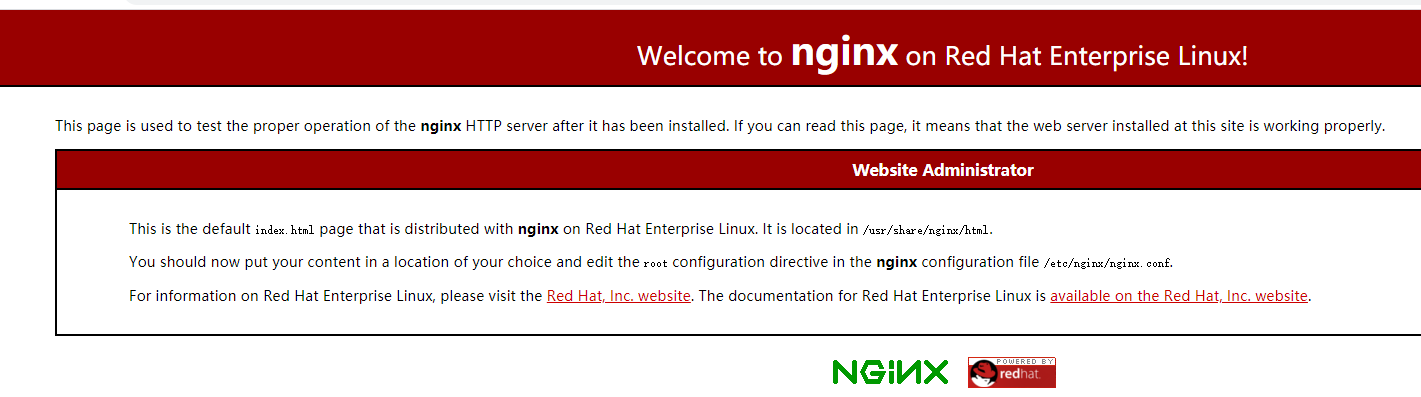
In the address box of a browser, enter the server address (the EIP of the ECS) to check whether Nginx is installed successfully.
If the following page is displayed, Nginx has been installed successfully.
Add the source forwarding server to the whitelist of the source Redis.
Configure a security group for the source forwarding server.
Obtain the EIP of the ECS.
In the inbound rule of the security group of the source forwarding server, add the EIP of the ECS, and open the port that ECS's requests come through. The following takes port 6379 as an example.
Configure Nginx forwarding for the source forwarding server.
Log in to the Linux source forwarding server and run the following commands to open and modify the configuration file:
cd /etc/nginx
vi nginx.conf
Example forwarding configuration:
stream {
    server {
        listen 6379;
        proxy_pass {source_instance_address}:{port};
    }
   }
6379 is the listening port of the source forwarding server. {source_instance_address} and {port} are the connection address and port of the source Redis instance.
This configuration allows you to access the source Redis through the local listening port 6379 of the source forwarding server.
This configuration must be added exactly where it is shown in the following figure.

Figure 2 Configuration location
Restart Nginx.
service nginx restart
Verify whether Nginx has been started.
netstat -an|grep 6379
If the port is being listened, Nginx has been started successfully.

Figure 3 Verification result
Configure Nginx forwarding for the ECS.
Log in to the Linux ECS and run the following commands to open and modify the configuration file:
cd /etc/nginx
vi nginx.conf
Configuration example:
stream {
    server {
        listen 6666;
        proxy_pass {source_ecs_address}:6379;
    }
   }
6666 is ECS's listening port, {source_ecs_address} is the public IP address of the source forwarding server, and 6379 is the listening port of the source forwarding server Nginx.
This configuration allows you to access the source forwarding server through the local listening port 6666 of the ECS.
This configuration must be added exactly where it is shown in the following figure.
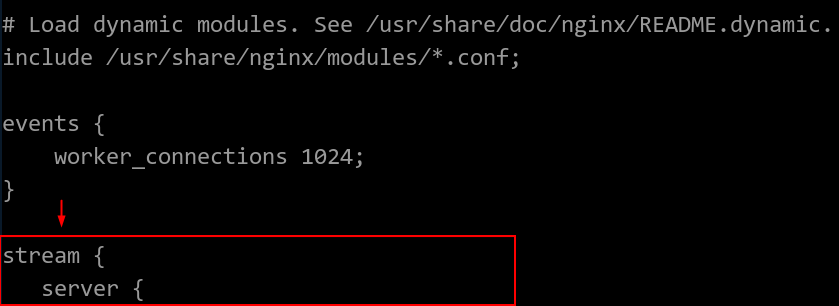
Figure 4 Configuration location
Restart Nginx.
service nginx restart
Verify whether Nginx has been started.
netstat -an|grep 6666
If the port is being listened, Nginx has been started successfully.

Figure 5 Verification result
Run the following command on the ECS to test the network connection of port 6666:
redis-cli -h {target_ecs_address} -p 6666 -a {password}
{target_ecs_address} is the EIP of the ECS, 6666 is the listening port of the ECS, and {password} is the source Redis password. If there is no password, leave it blank.
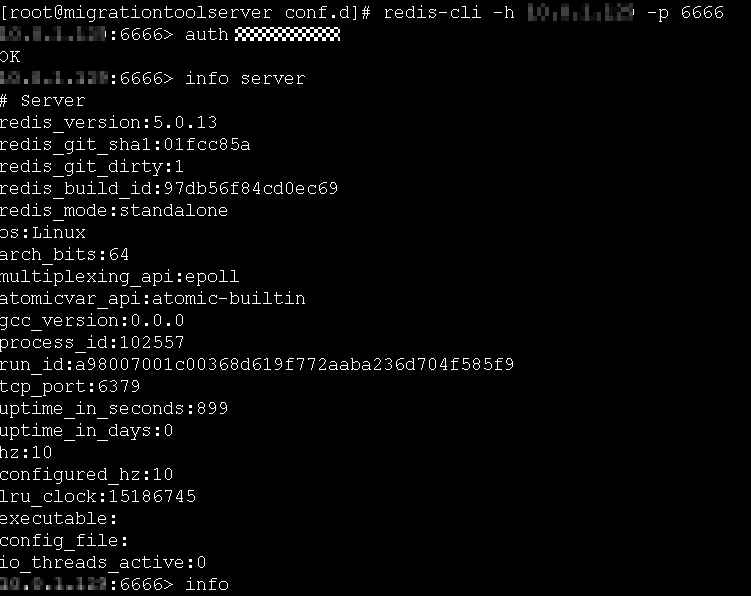
Figure 6 Connection example
Prepare the migration tool redis-shake.
Log in to the ECS.
Download redis-shake. Version 2.0.3 is used as an example. You can use other redis-shake versions as required.
wget https://github.com/tair-opensource/RedisShake/releases/download/release-v2.0.3-20200724/redis-shake-v2.0.3.tar.gz
Decompress the redis-shake file.
tar -xvf redis-shake-v2.0.3.tar.gz
Configure the redis-shake configuration file.
Go to the directory generated after the decompression.
cd redis-shake-v2.0.3
Modify the redis-shake.conf configuration file.
vim redis-shake.conf
Modify the source Redis configuration.
source.type
Type of the source Redis instance. Use standalone for single-node, master/standby, and Proxy Cluster, and cluster for cluster instances.
source.address
EIP of the ECS and the mapped port of the source forwarding server (ECS's listening port 6666). Separate the EIP and port number with a colon (:).
source.password_raw
Password of the source Redis instance. If no password is set, you do not need to set this parameter.
Modify the target DCS configuration.
target.type
Type of the DCS Redis instance. Use standalone for single-node, master/standby, and Proxy Cluster, and cluster for cluster instances.
target.address
Colon (:) separated connection address and port of the DCS Redis instance.
target.password_raw
Password of the DCS Redis instance. If no password is set, you do not need to set this parameter.
Press Esc to exit the editing mode and enter :wq!. Press Enter to save the configuration and exit the editing interface.
Run the following command to start redis-shake and migrate data in the rump (online in full) mode:
./redis-shake.linux -conf redis-shake.conf -type rump
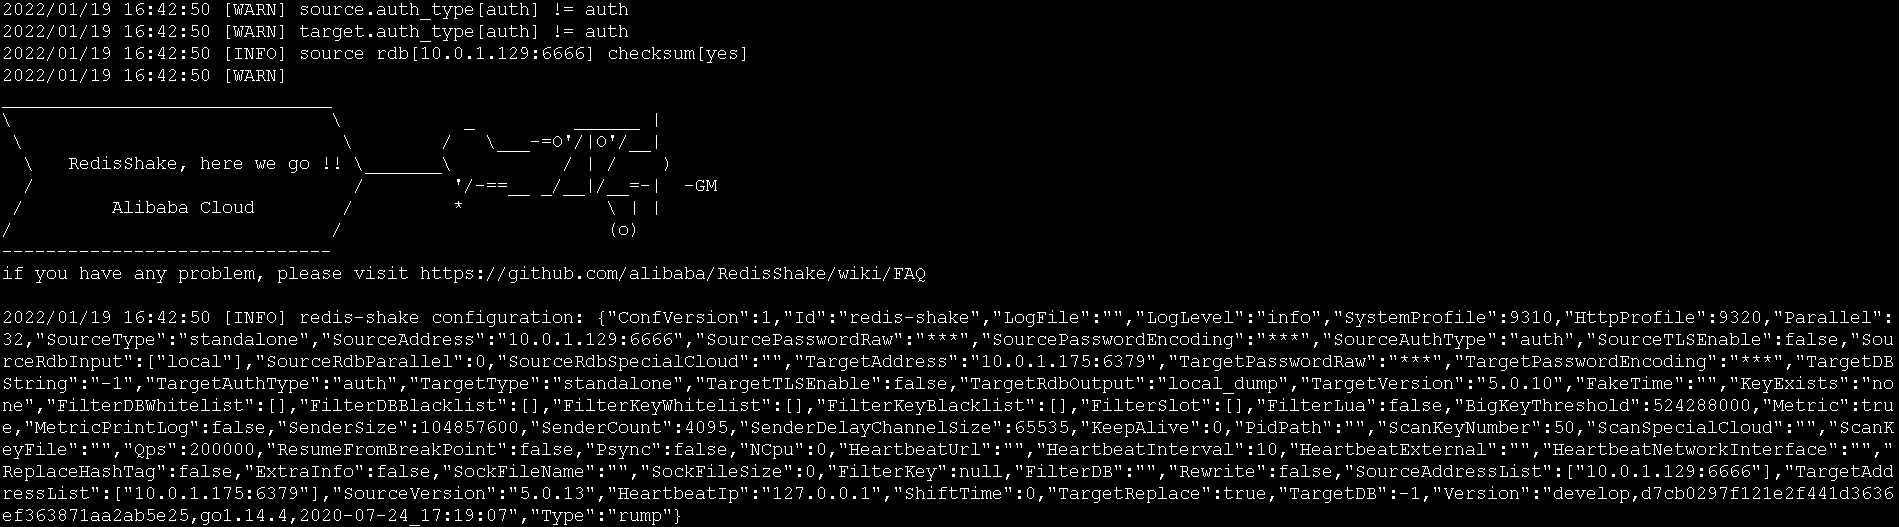
Figure 7 Migration process
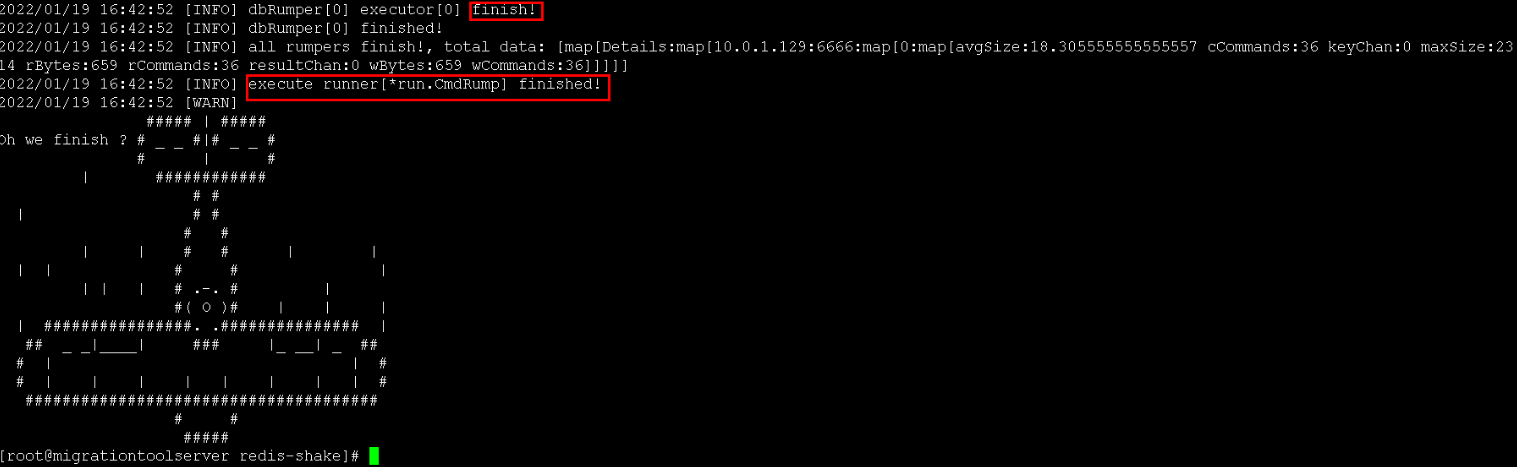
Figure 8 Migration result
After the migration is complete, use redis-cli to connect to the source and target Redis instances to check whether the data is complete.
Connect to the source and target Redis instances, respectively.
For details, see Accessing a DCS Redis Instance Through redis-cli.
Run the info keyspace command to check the values of keys and expires.
Calculate the differences between the values of keys and expires of the source Redis and the target Redis. If the differences are the same, the data is complete and the migration is successful.
Delete the redis-shake configuration file.