Self-Hosted Redis Migration with Backup Files
This section describes how to migrate self-hosted Redis to DCS by importing backup files.
Simply download the source Redis data and then upload the data to an OBS bucket in the same account and region as the target DCS Redis instance. After you have created a migration task on the DCS console, DCS will read data from the OBS bucket and data will be migrated to the target instance.
Notes and Constraints
To migrate to an instance with SSL enabled, disable the SSL setting first. For details, see Transmitting DCS Redis Data with Encryption Using SSL.
Prerequisites
Before migrating data, read through Migration Tools and Schemes to learn about the DCS data migration function and select an appropriate target instance.
By default, a cluster instance has only one DB (DB0). Before you migrate data from a multi-DB single-node or master/standby instance to a Redis Cluster instance, check whether any data exists on databases other than DB0. To ensure that the migration succeeds, move all data to DB0 by referring to Online Migration with Rump.
Prepare the source Redis backup file. The backup file must be in .aof, .rdb, .zip, or .tar.gz format.
If a target DCS Redis instance is not available, create one first. For details, see Creating a DCS Redis Instance.
If you already have a DCS Redis instance, you do not need to create one again. For comparing migration data and reserving sufficient memory, you are advised to clear the instance data before the migration. For details, see Clearing DCS Instance Data. If any data exists on the target instance, duplicate data between the source and target is overwritten. If the data exists only on the target instance, the data will be retained.
Creating an OBS Bucket and Uploading Backup Files
Create an OBS bucket.
Log in to the OBS Console and click Create Bucket.
Select a region.
The OBS bucket must be in the same region as the target DCS Redis instance.
Specify Bucket Name.
The bucket name must meet the naming rules specified on the console.
Set Storage Class to Standard, Warm or Cold.
Set Bucket Policy to Private, Public Read, or Public Read and Write.
Configure default encryption.
Click Create Now.
Upload the backup data files to the OBS bucket by using OBS Browser+.
If the backup file to be uploaded does not exceed 5 GB, upload the file using the OBS console by referring to step 3.
If the backup file to be uploaded is larger than 5 GB, perform the following steps to upload the file using OBS Browser+.
Download OBS Browser+.
For details, see section "Downloading OBS Browser+" in Object Storage Service (OBS) Tools Guide (OBS Browser+).
Install OBS Browser+.
For details, see section "Installing OBS Browser+" in Object Storage Service (OBS) Tools Guide (OBS Browser+).
Log in to OBS Browser+.
For details, see section "Logging In to OBS Browser+" in Object Storage Service (OBS) Tools Guide (OBS Browser+).
Create a bucket.
Upload backup data.
On the OBS console, upload the backup data files to the OBS bucket.
Perform the following steps if the backup file size does not exceed 5 GB:
In the bucket list, click the name of the created bucket.
In the navigation pane, choose Objects.
On the Objects tab page, click Upload Object.
Upload the objects.
To upload objects, drag files or folders to the Upload Object area or click add file. A maximum of 100 files can be uploaded at a time. The total size cannot exceed 5 GB.
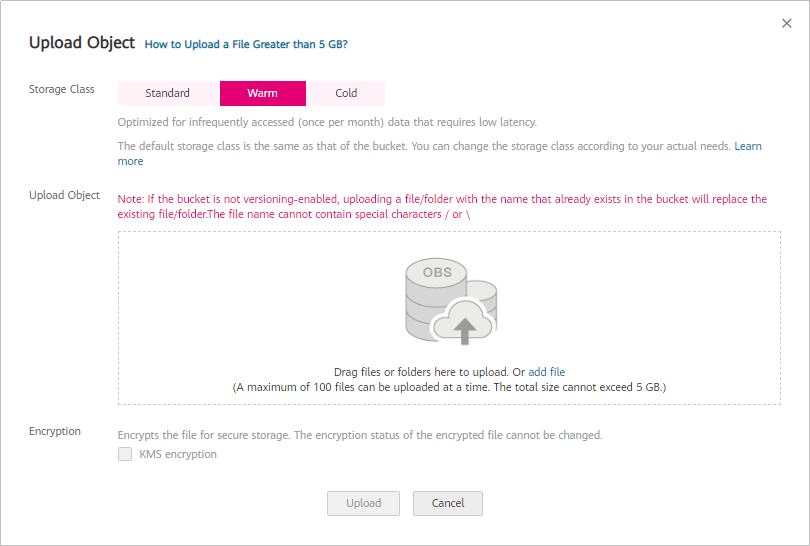
Figure 1 Uploading an object
(Optional) Select KMS encryption to encrypt the file you want to upload.
Click Upload.
Creating a Migration Task
Go to the DCS console.
In the navigation pane, choose Data Migration.
Click Create Backup Import Task.
Enter the task name and description.
The task name must start with a letter, contain 4 to 64 characters, and contain only letters, digits, hyphens (-), and underscores (_).
In the Source Redis area, select OBS Bucket for Data Source and then select the OBS bucket to which you have uploaded backup files.
Click Add Backup and select the backup files to be migrated.
In the Target Redis area, select the Target Redis Instance prepared in Prerequisites.
If the target Redis instance has a password, enter the password and click Test Connection to check whether the password is correct. If the instance is not password-protected, click Test Connection directly.
Click Next.
Confirm the migration task details and click Submit.
Go back to the data migration task list. After the migration is successful, the task status changes to Successful.
Verifying the Migration
After the data is imported successfully, access the DCS instance and run the info command to check whether the data has been successfully imported as required. Connect to Redis by referring to Accessing a DCS Redis Instance Through redis-cli.
If the import fails, check the procedure. If the import command is incorrect, run the flushall or flushdb command to clear the cache data in the target instance, modify the import command, and try again.