Migrating Resources
To migrate resources in one workspace to another, you can use the resource migration function provided by DataArts Studio.
Resources that can be migrated include the data connections in Management Center.
Prerequisites
Resources can be imported from OBS or a local path.
There are resources that can be migrated. For details on how to create data connections, see Managing Data Connections.
Constraints
Only an exported .zip file can be imported. During the import, the system verifies the resources in the file.
For security concerns, passwords of connections are not exported when the connections are exported. You need to enter the passwords when importing the connections.
The size of the file to be imported from an OBS bucket or local path cannot exceed 10 MB.
Exporting a Resource
Log in to the DataArts Studio console by following the instructions in Accessing the DataArts Studio Instance Console.
On the DataArts Studio console, locate a workspace and click Management Center.
In the navigation pane, choose Migrate Resources.
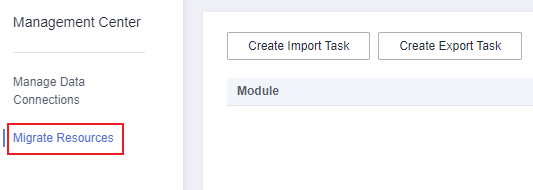
Figure 1 Migrating Resources
Click Create Export Task to configure the file name and the OBS path for saving the file. If OBS is unavailable, you only need to set the file name.
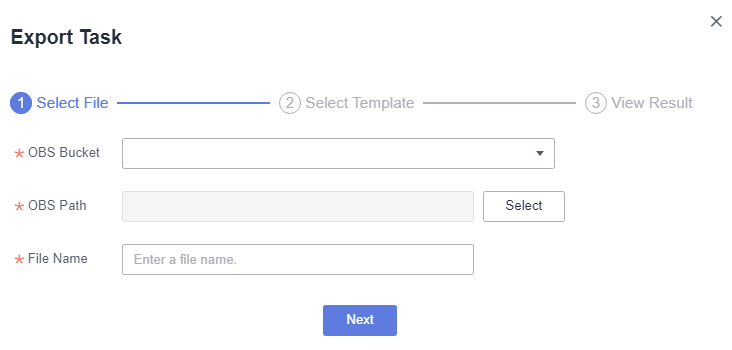
Figure 2 Export Task
Click Next and select the resources to export.
Click Next and wait until the export is complete. The resource package is exported to the OBS path you have set.
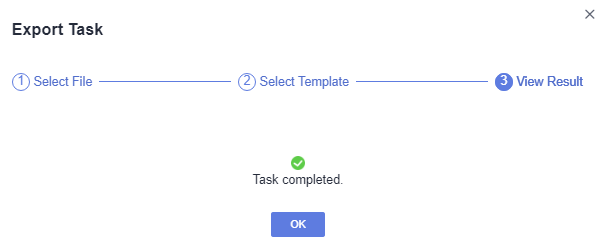
Figure 3 Export completed
If no result is displayed in 1 minute, the export fails. Try again. If the failure persists, contact the customer service or technical support.
After the export is complete, you can click Download in the row of the corresponding migration task to download the exported resource package.

Figure 4 Downloading the exported result
Importing a Resource
Log in to the DataArts Studio console by following the instructions in Accessing the DataArts Studio Instance Console.
On the DataArts Studio console, locate a workspace and click Management Center.
In the navigation pane, choose Migrate Resources.
Figure 5 Migrating Resources
Click Create Import Task. On the displayed page, select an import mode and set the OBS bucket and path or local path that stores resources. The resource to be imported must be a .zip file exported from the console.
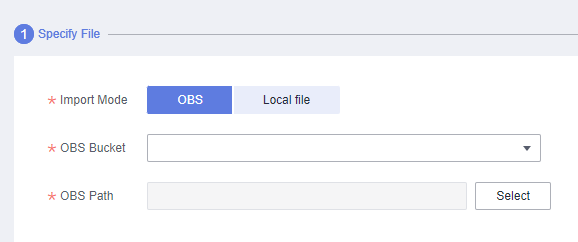
Figure 6 Configuring the path that stores the resources to be imported
Click Create Import Task and upload a .zip resource file that you have exported.
Click Next and select the resources to import.
If you select DataSource, click Next to configure a data connection.
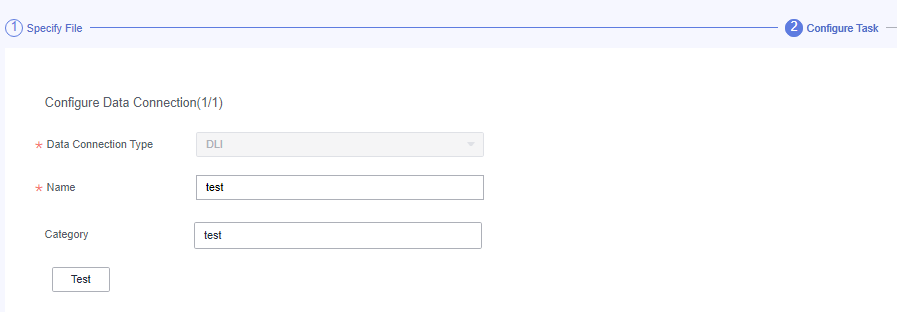
Figure 7 Configuring a data connection
Click Next and wait until the import task is delivered. When the import task is delivered successfully, the system displays message "Import task started."

Figure 8 Import task started
Click OK. You can view the import result in the resource migration task list.
Subtasks that fail are marked in red. You can click their names to view the failure causes.

Figure 9 Viewing the import result