Creating a User and Granting Permissions by Using Kibana
Prerequisites
The security mode has been enabled for the cluster.
Procedure
Note
This section takes Kibana 7.6.2 as an example to describe the procedure.
Log in to the CSS management console.
Click Access Kibana in the Operation column of a cluster.

Figure 1 Logging in to Kibana (1)
Log in to Kibana.
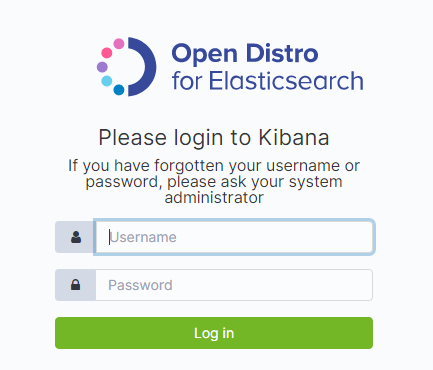
Figure 2 Logging in to Kibana (2)
Username: admin
Password: Enter the password set during cluster creation.
Click the Security icon on the Kibana operation page.
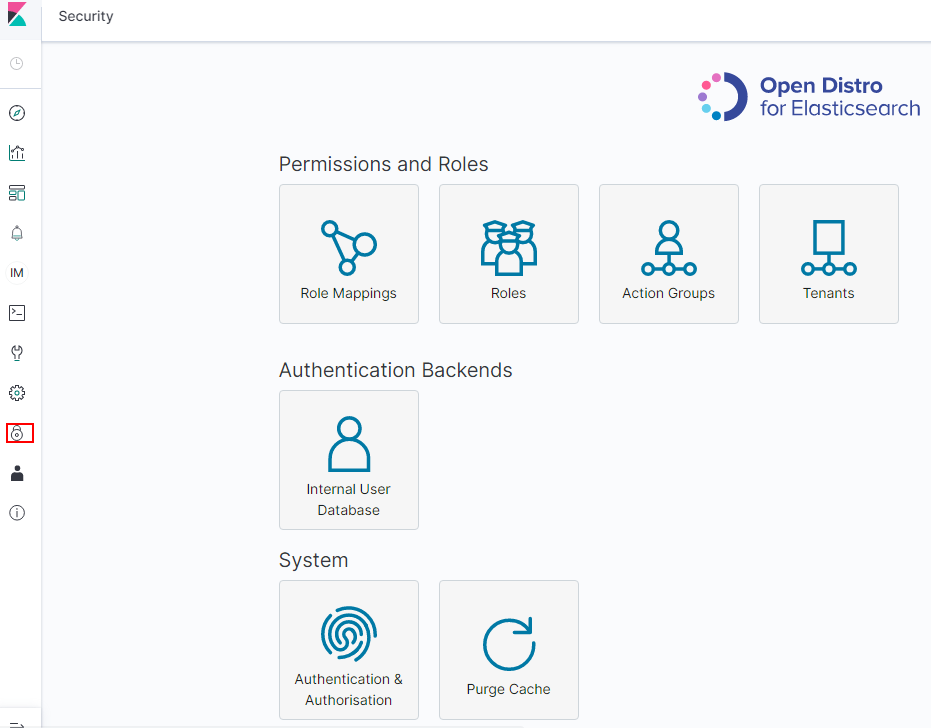
Figure 3 Going to the Security page
Create a user.
Choose Authentication Backends >Internal Users Database.
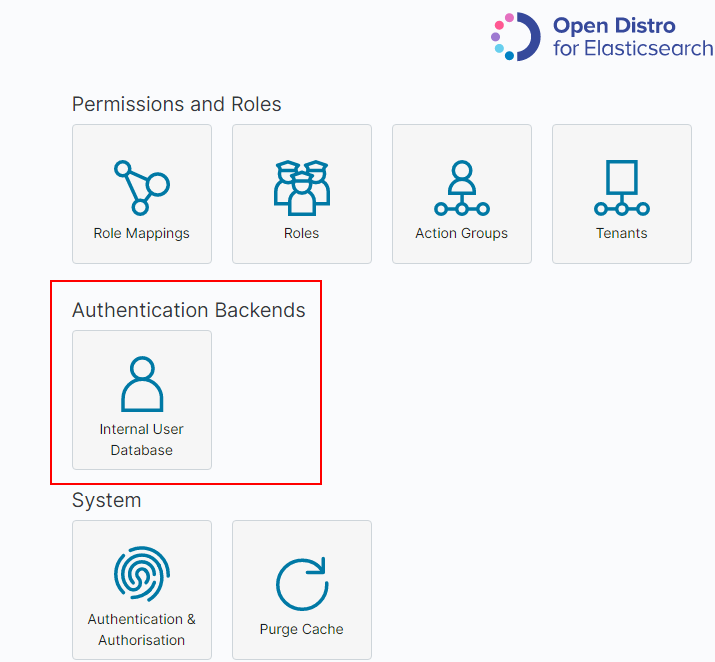
Figure 4 Adding a user (1)
On the Internal Users Database page, choose
 . The page for adding user information is displayed.
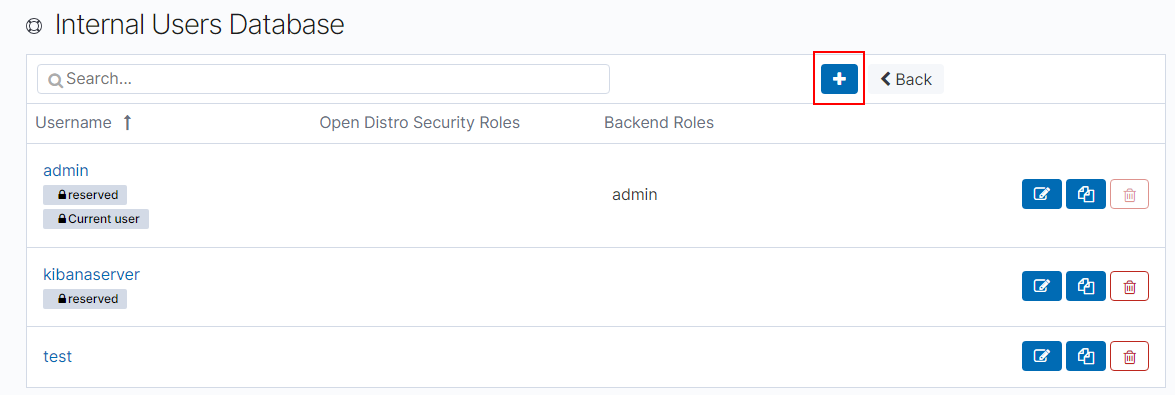
Figure 5 Adding a user (2)
On the user creation page, configure Username and Password, and click Submit.
The user will be displayed in the user list.
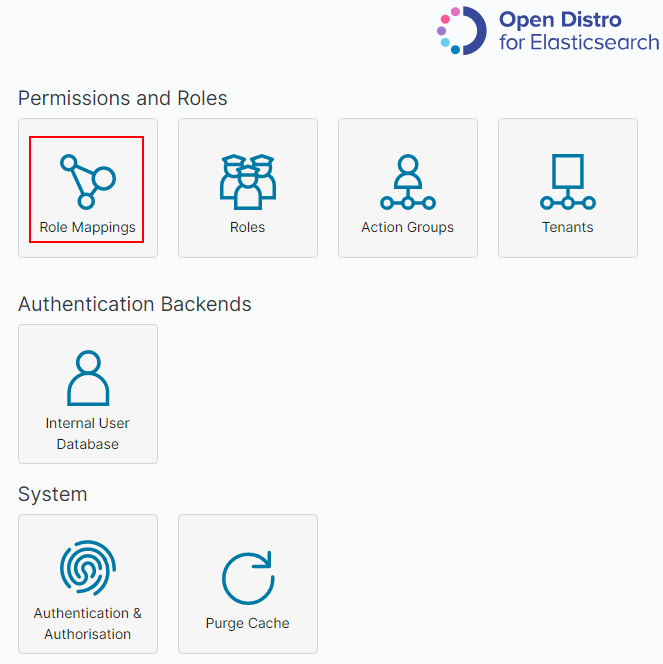
Configure roles and permissions for the user.
Click Roles.
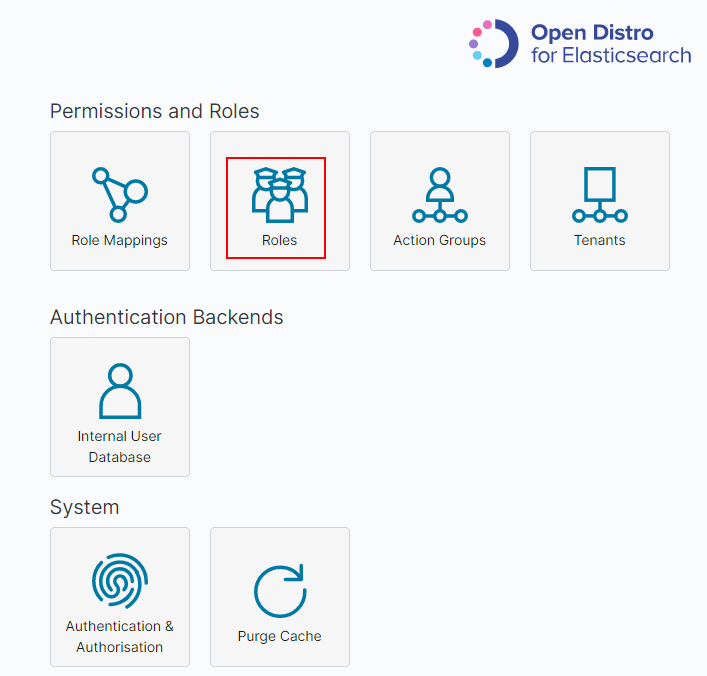
Figure 6 Adding a role
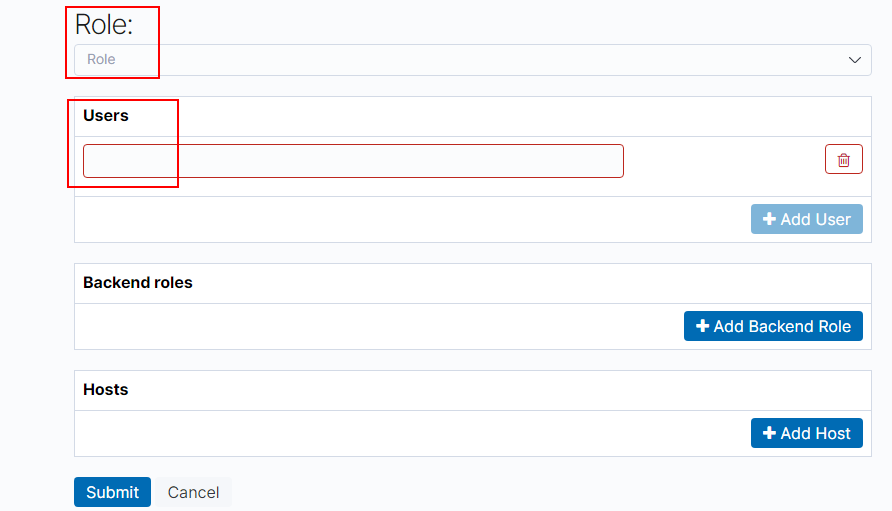
On the Open Distro Security Roles page, click
.Enter a role name on the Overview page.
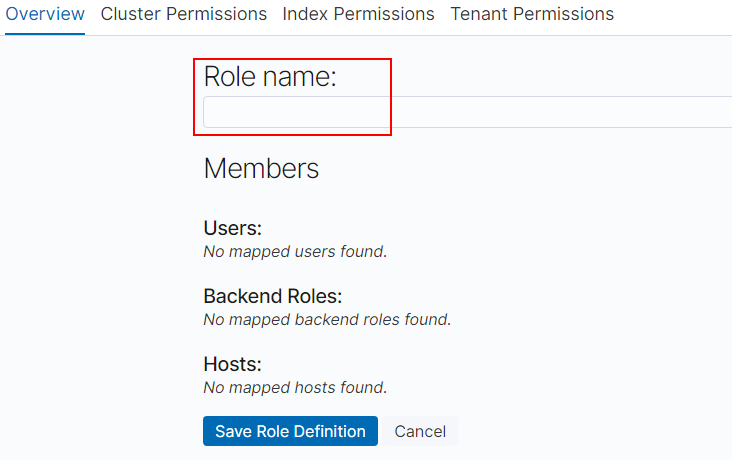
Figure 7 Entering a role name
Configure CSS cluster permissions on the Cluster Permissions page. You can skip this step.
Configure index permissions on the Index Permissions page.
Index patterns: Set this parameter to the name of the index whose permission needs to be configured. For example, my_store.
Note
Use different names for the index and the user.
Configure Permissions: Action Groups as required, for example, select the read-only permission Search.
Retain the default settings on the Tenant Permissions page.
After the configuration is complete, the role will be displayed.
Assign a role to the user.
Verify that the configuration takes effect in Kibana.