Creating a User and Granting Permissions by Using Kibana
CSS uses the opendistro_security plug-in to provide security cluster capabilities. The opendistro_security plug-in is built based on the RBAC model. RBAC involves three core concepts: user, action, and role. RBAC simplifies the relationship between users and actions, simplifies permission management, and facilitates permission expansion and maintenance. The following figure shows the relationship between the three.

Figure 1 User, action, and role
Parameter | Description |
|---|---|
User | A user can send operation requests to Elasticsearch clusters. The user has credentials such as username and password, and zero or multiple backend roles and custom attributes. |
Role | A role is a combination of permissions and action groups, including operation permissions on clusters, indexes, documents, or fields. |
Permission | Single permission, for example, creating an index (for example, indices:admin/create) |
Role mapping | A user will be assigned a role after successful authentication. Role mapping is to map a role to a user (or a backend role). For example, the mapping from kibana_user (role) to jdoe (user) means that John Doe obtains all permissions of kibana_user after being authenticated by kibana_user. Similarly, the mapping from all_access (role) to admin (backend role) means that any user with the backend role admin (from the LDAP/Active Directory server) has all the permissions of role all_access after being authenticated. You can map a role to multiple users or backend roles. |
Action group | A group of permissions. For example, the predefined SEARCH action group grants roles to use _search and _msearchAPI. |
In addition to the RBAC model, Elasticsearch has an important concept called tenant. RBAC is used to manage user authorization, and tenants are used for information sharing across tenants. In a tenant space, IAM users can share information such as dashboard data and index patterns.
This section describes how to use Kibana to create a user and grant permissions to the user. Kibana can be used to create users and grant permissions only when the security mode is enabled for the cluster.
Note
The Kibana UI varies depending on the Kibana version, but their operations are similar. This section takes Kibana 7.6.2 as an example to describe the procedure.
You can customize the username, role name, and tenant name in Kibana.
Step 1: Logging in to Kibana
Step 2: Creating a User
Step 4: Configuring a Role for a User
Logging in to Kibana
Log in to the CSS management console.
Choose Clusters in the navigation pane. On the Clusters page, locate the target cluster and click Access Kibana in the Operation column.
Enter the administrator username and password to log in to Kibana.
Username: admin (default administrator account name)
Password: Enter the administrator password you set when creating the cluster in security mode.
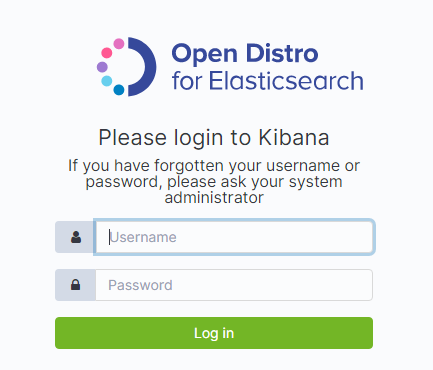
Figure 2 Login page
Creating a User
Log in to Kibana and create a user on the Security page.
After a successful login, choose Security in the navigation tree on the left of the Kibana operation page. The Security page is displayed.
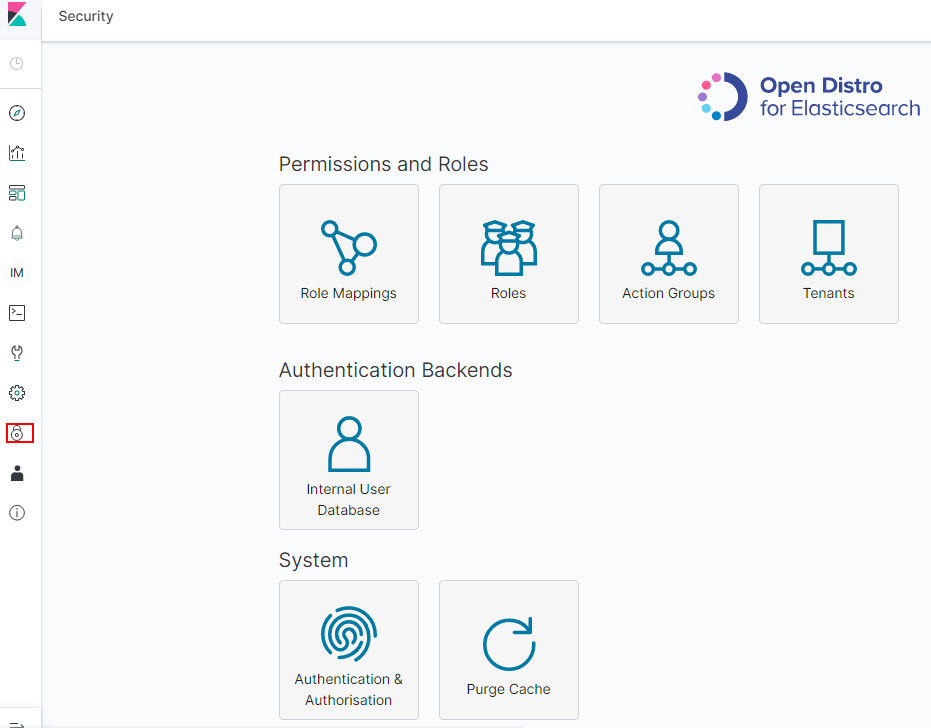
Figure 3 Accessing the Security page
Choose Authentication Backends > Internal Users Database.
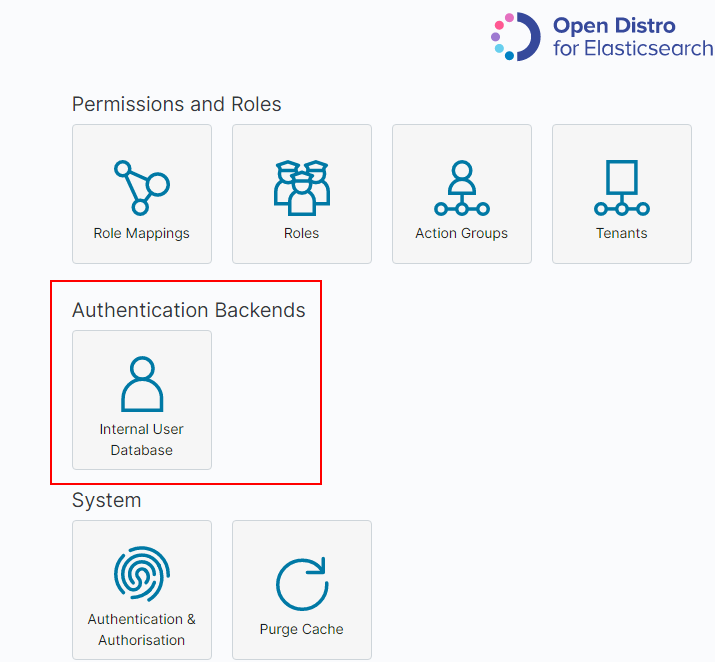
Figure 4 Adding a user (1)
On the Internal Users Database page, choose
 . The page for adding user information is displayed.
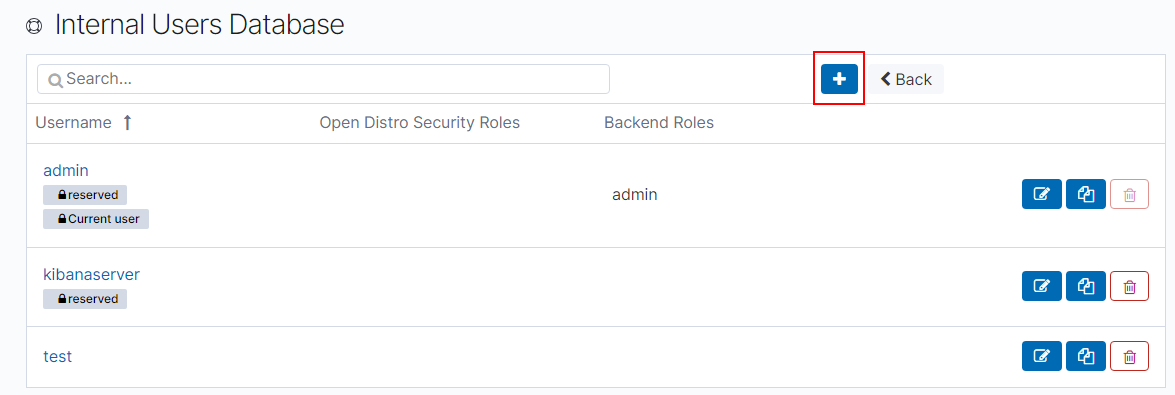
Figure 5 Adding a user (2)
On the user creation page, specify Username, Password, and Repeatpassword, and click Submit.
The user will be displayed in the user list.
Creating a Role and Granting Permissions
Create a role and grant permissions to the role.
Click Roles.
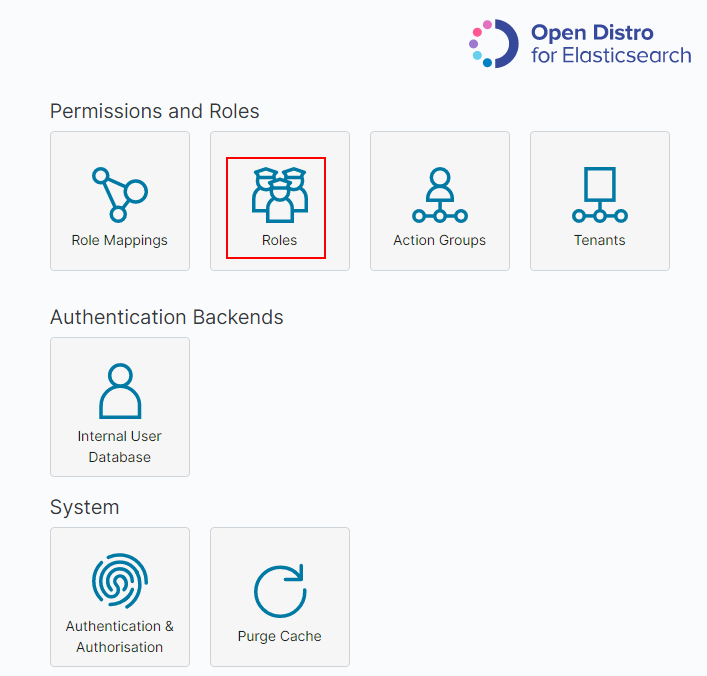
Figure 6 Adding a role
On the Open Distro Security Roles page, click
 .
.On the Overview tab page, set the role name.
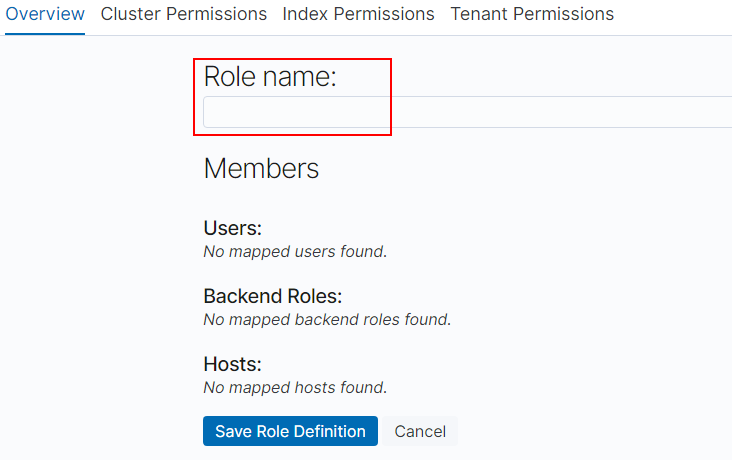
Figure 7 Entering a role name
On the Cluster Permissions tab page, set CSS cluster permissions. Set cluster permissions based on service requirements. If this parameter is not specified for a role, the role has no cluster-level permissions.
Permissions: Action Groups: You can click Add Action Group to set cluster permissions. For example, if you select the read permission for a cluster, you can only view information such as the cluster status and cluster nodes.
Permissions: Single Permissions: Select Show Advanced and click Add Single Permission to set more refined permissions for the cluster. For example, if this parameter is set to indices:data/read, you can only read specified indexes.
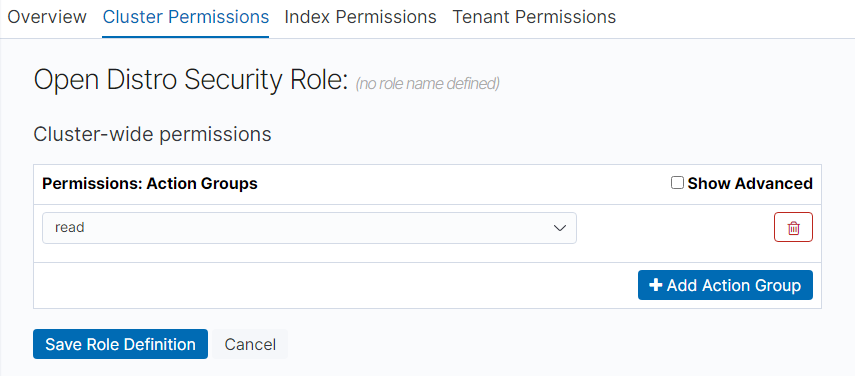
Figure 8 Cluster Permissions tab page
Configure index permissions on the Index Permissions page.
Index patterns: Set this parameter to the name of the index whose permission needs to be configured. For example, my_store.
Note
Use different names for the index and the user.
Permissions: Action Groups: Click Add Action Group and set the permission as required. For example, select the read-only permission Search.
On the Tenant Permissions page, set role permissions based on service requirements.
Global permissions: Click Add Field to set the kibana read and write permissions of a role, for example, kibana_all_read or kibana_all_write.
Tenant permissions: Click Add tenant pattern to add a tenant mode and set the kibana_all_read or kibana_all_write permission for a new tenant mode.
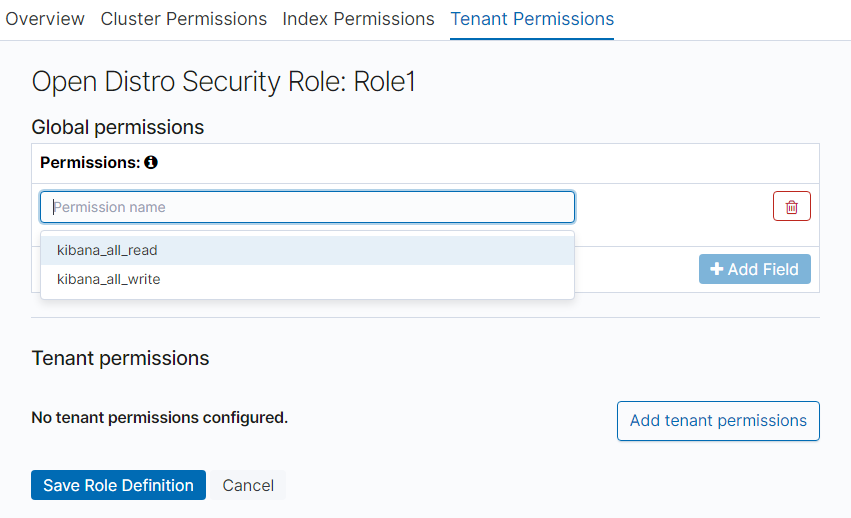
Figure 9 Tenant Permissions tab
Click Save Role Definition and you can view the configured role.
Configuring a Role for a User
After creating a role and granting permissions to the role, you need to map the role to a user so that the user can obtain the permissions of the mapped role.
Click Role Mappings. On the displayed Role Mappings page, map the roles.
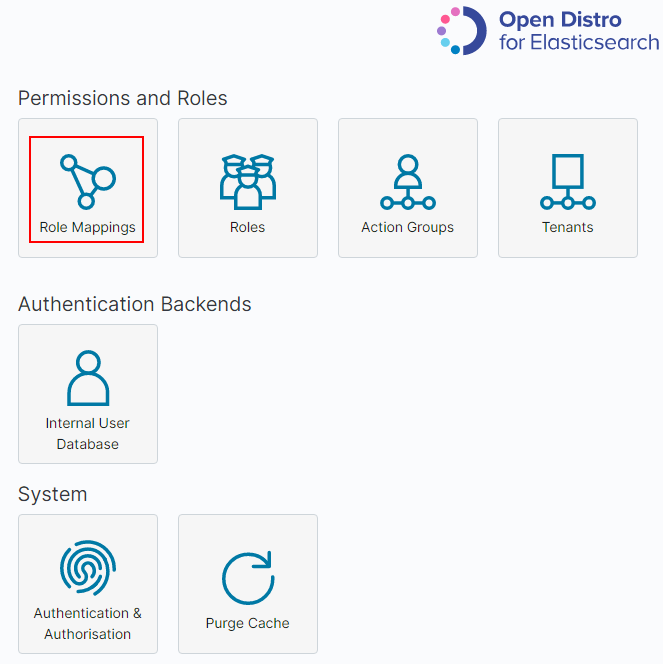
Figure 10 Role mapping
On the Role Mappings page, click
 to select a role and add users.
Role: Select the name of the role to be mapped.
Users: Click Add User and enter the name of the user whose role is mapped.
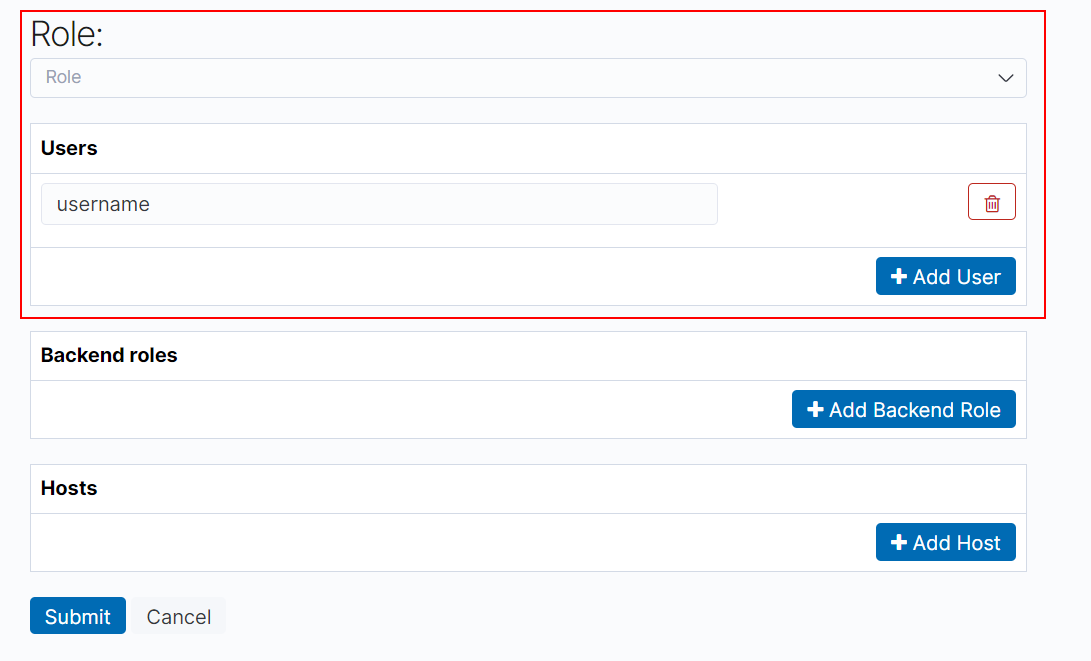
Figure 11 Users and roles
Click Submit.
Verify that the configuration takes effect in Kibana.