Argo CD template
1. About

Argo CD template: Instant App Deployment Made Simple
With this template, deploying your cloud-native applications to the cloud has never been easier or faster, no OpenStack expertise knowledge required. In just a few clicks, you can spin up a Cloud Container Engine (CCE) cluster and launch your apps using Argo CD, the leading GitOps tool.
Just point to your Git repository containing your Kubernetes manifests, and Cloud Create takes care of the rest. Argo CD automatically pulls your Kubernetes resources and syncs them to a fresh CCE cluster. Once deployment is complete, your apps are live - fully automated, fully operational.
Need to scale or add more apps later? Simply log into Argo CD and add more apps seamlessly through the Argo CD UI.
Whether you’re a startup racing to launch or an enterprise bringing new services online, the Argo CD template helps you deliver faster, smarter, and with fewer resources so you can invest more in innovation and less in infrastructure.

Figure 1. The Argo CD template
2. How to use
2.1. Enable CCE on the Web console (on first use)
If this is the first time you use CCE in a project, you have to authorize it first.
Switch to the project you want to deploy CCE / go to Cloud Container Engine.
The Web console shows an Authorization Description > Click OK.

Figure 2. Accept the Authoriztation on first use
2.2. Deploy Setup
The following tutorial shows you how to bring up the example app sock-shop from Argo CD with one-click deployment.
In the Deploy Setup:
Input app_name with a name of your app (e.g.,
sock-shop).Input repo with the Git repository where you want Argo CD to sync (e.g.,
https://github.com/opentelekomcloud-blueprints/argocd-example-apps.git).Input path with the path on the Git repository, which contains the K8s resources you want to deploy (e.g.,
sock-shop).(Optional) Enable the option access_with_elb, if you wish to access Argo CD via a public IP address.

Figure 3. Argo CD setup
Click Deploy.
2.3. Access Argo CD
After the deployment, you can access Argo CD with two options:
2.3.1. Access Argo CD with ELB IP
If you enable access_with_elb in the Deploy Setup, the deployment outputs the public IP address of Argo CD elb_ip (see Figure 4, nr.1).

Figure 4. Outputs of Argo CD
Copy the elb_ip in a browser. Use the username admin and the initial admin password to access Argo CD (see Figure 4, nr.2).

Figure 5. Login with admin
Important
Remember to change the initial password after login. This password is displayed in plaintext.
Inside Argo CD, you can see your app is synced (released) on the CCE:

Figure 6. The app sock-shop is synced
2.3.2. (Alternative) Access Argo CD via port forwarding
If you do not wish to expose Argo CD to public access, disable access_with_elb in the Deploy Setup. In this case, you can access it via the bastion host as follows:
Enable TCP forwarding on the bastion host
# SSH to the bastion host
$ ssh ubuntu@<bastion_host_ip>

# Enable TCP forwarding in the sshd_config
$ sudo nano /etc/ssh/sshd_config
# update sshd_config with the following values
AllowTcpForwarding yes
PermitOpen any

# Restart SSH
$ sudo systemctl restart ssh
Start SSH Port Forwarding
# On your local machine, forwards connections from local port 3000 to port 3000 on the bastion host
$ ssh -L 3000:localhost:3000 ubuntu@<bastion_host_ip>

# On the bastion host, start port forwarding
$ kubectl port-forward service/argocd-server -n argocd 3000:443
Argo CD can then be accessed from your local machine with
https://localhost:3000.

Figure 7. Access https://localhost:3000
2.4. Access the example app
You can access the example app with a public IP address from type Load Balancer as follows:
On the OTC Web console, you can see a new CCE cluster is up and running.
Go to Services and copy the ELB Public IP of the service front-end-elb. This is the service from type Load Balancer of our example app, which is defined on the Github repository.

Figure 8. View the ELB Public IP
and access the ELB Public IP (http://80.158.91.203/) with a browser:
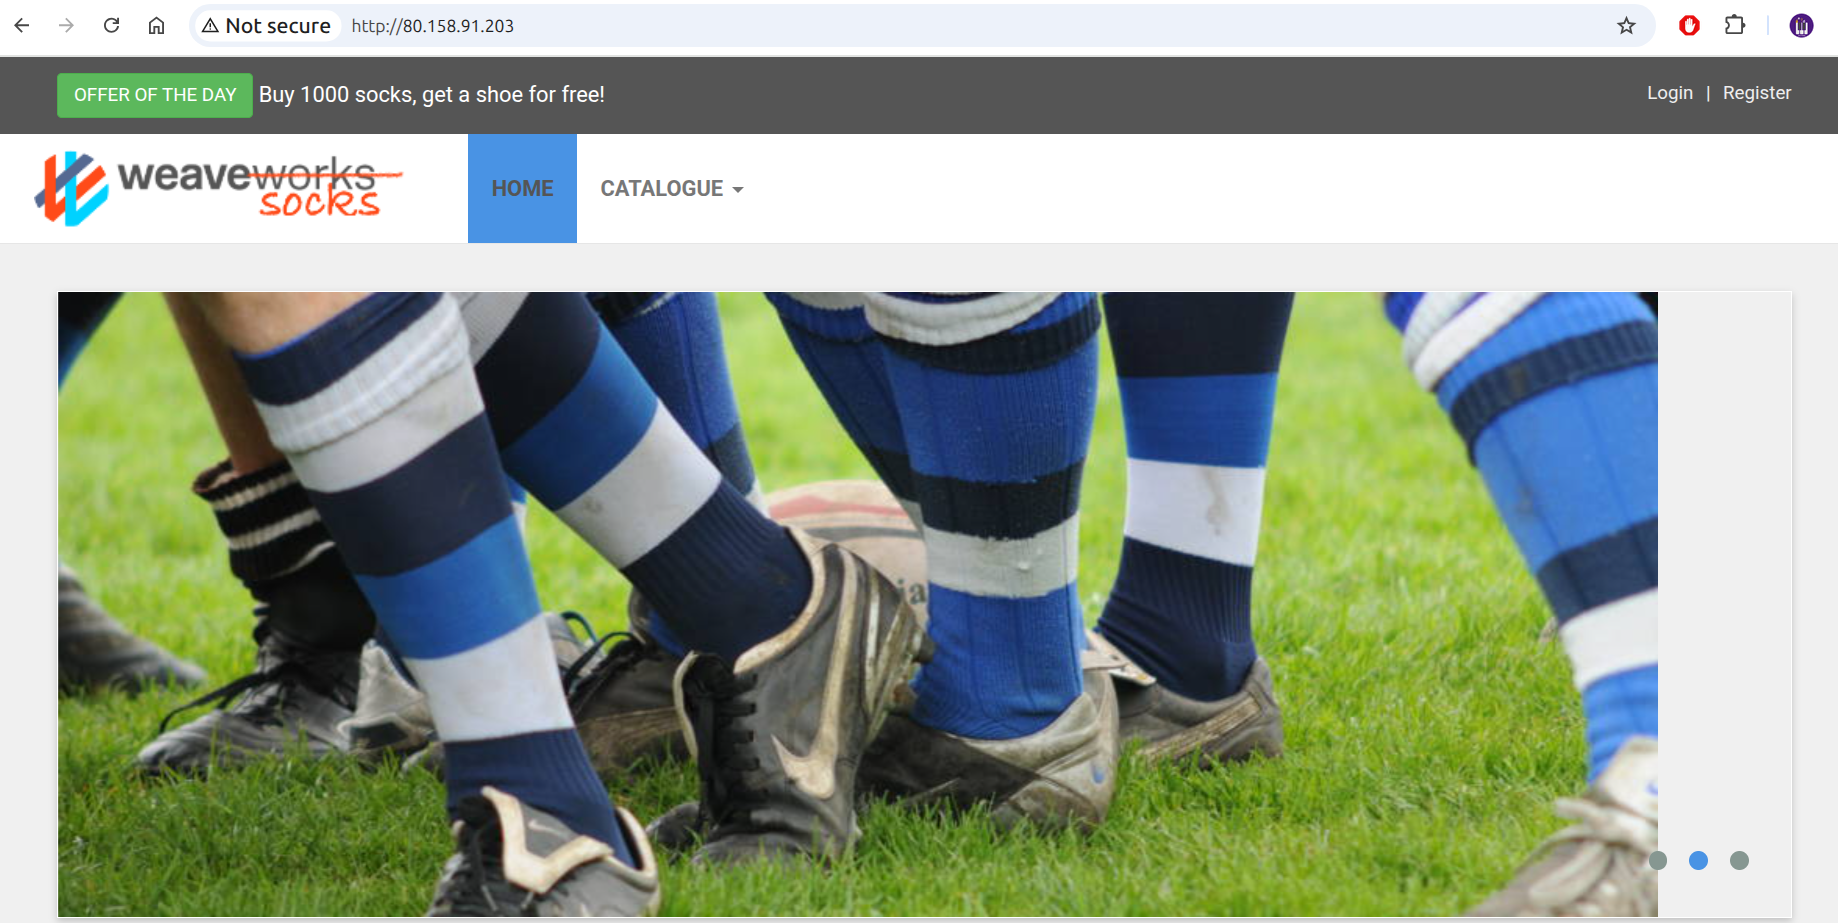
Figure 9. See your app is running
3. Advanced customization for production
We use the community maintained helm chart and deploy Argo CD with the default values. For production use, you should customize Argo CD for your needs by updating the helm chart values before the deployment.
To update the helm chart values, click on the ArgoCD component in the designer:
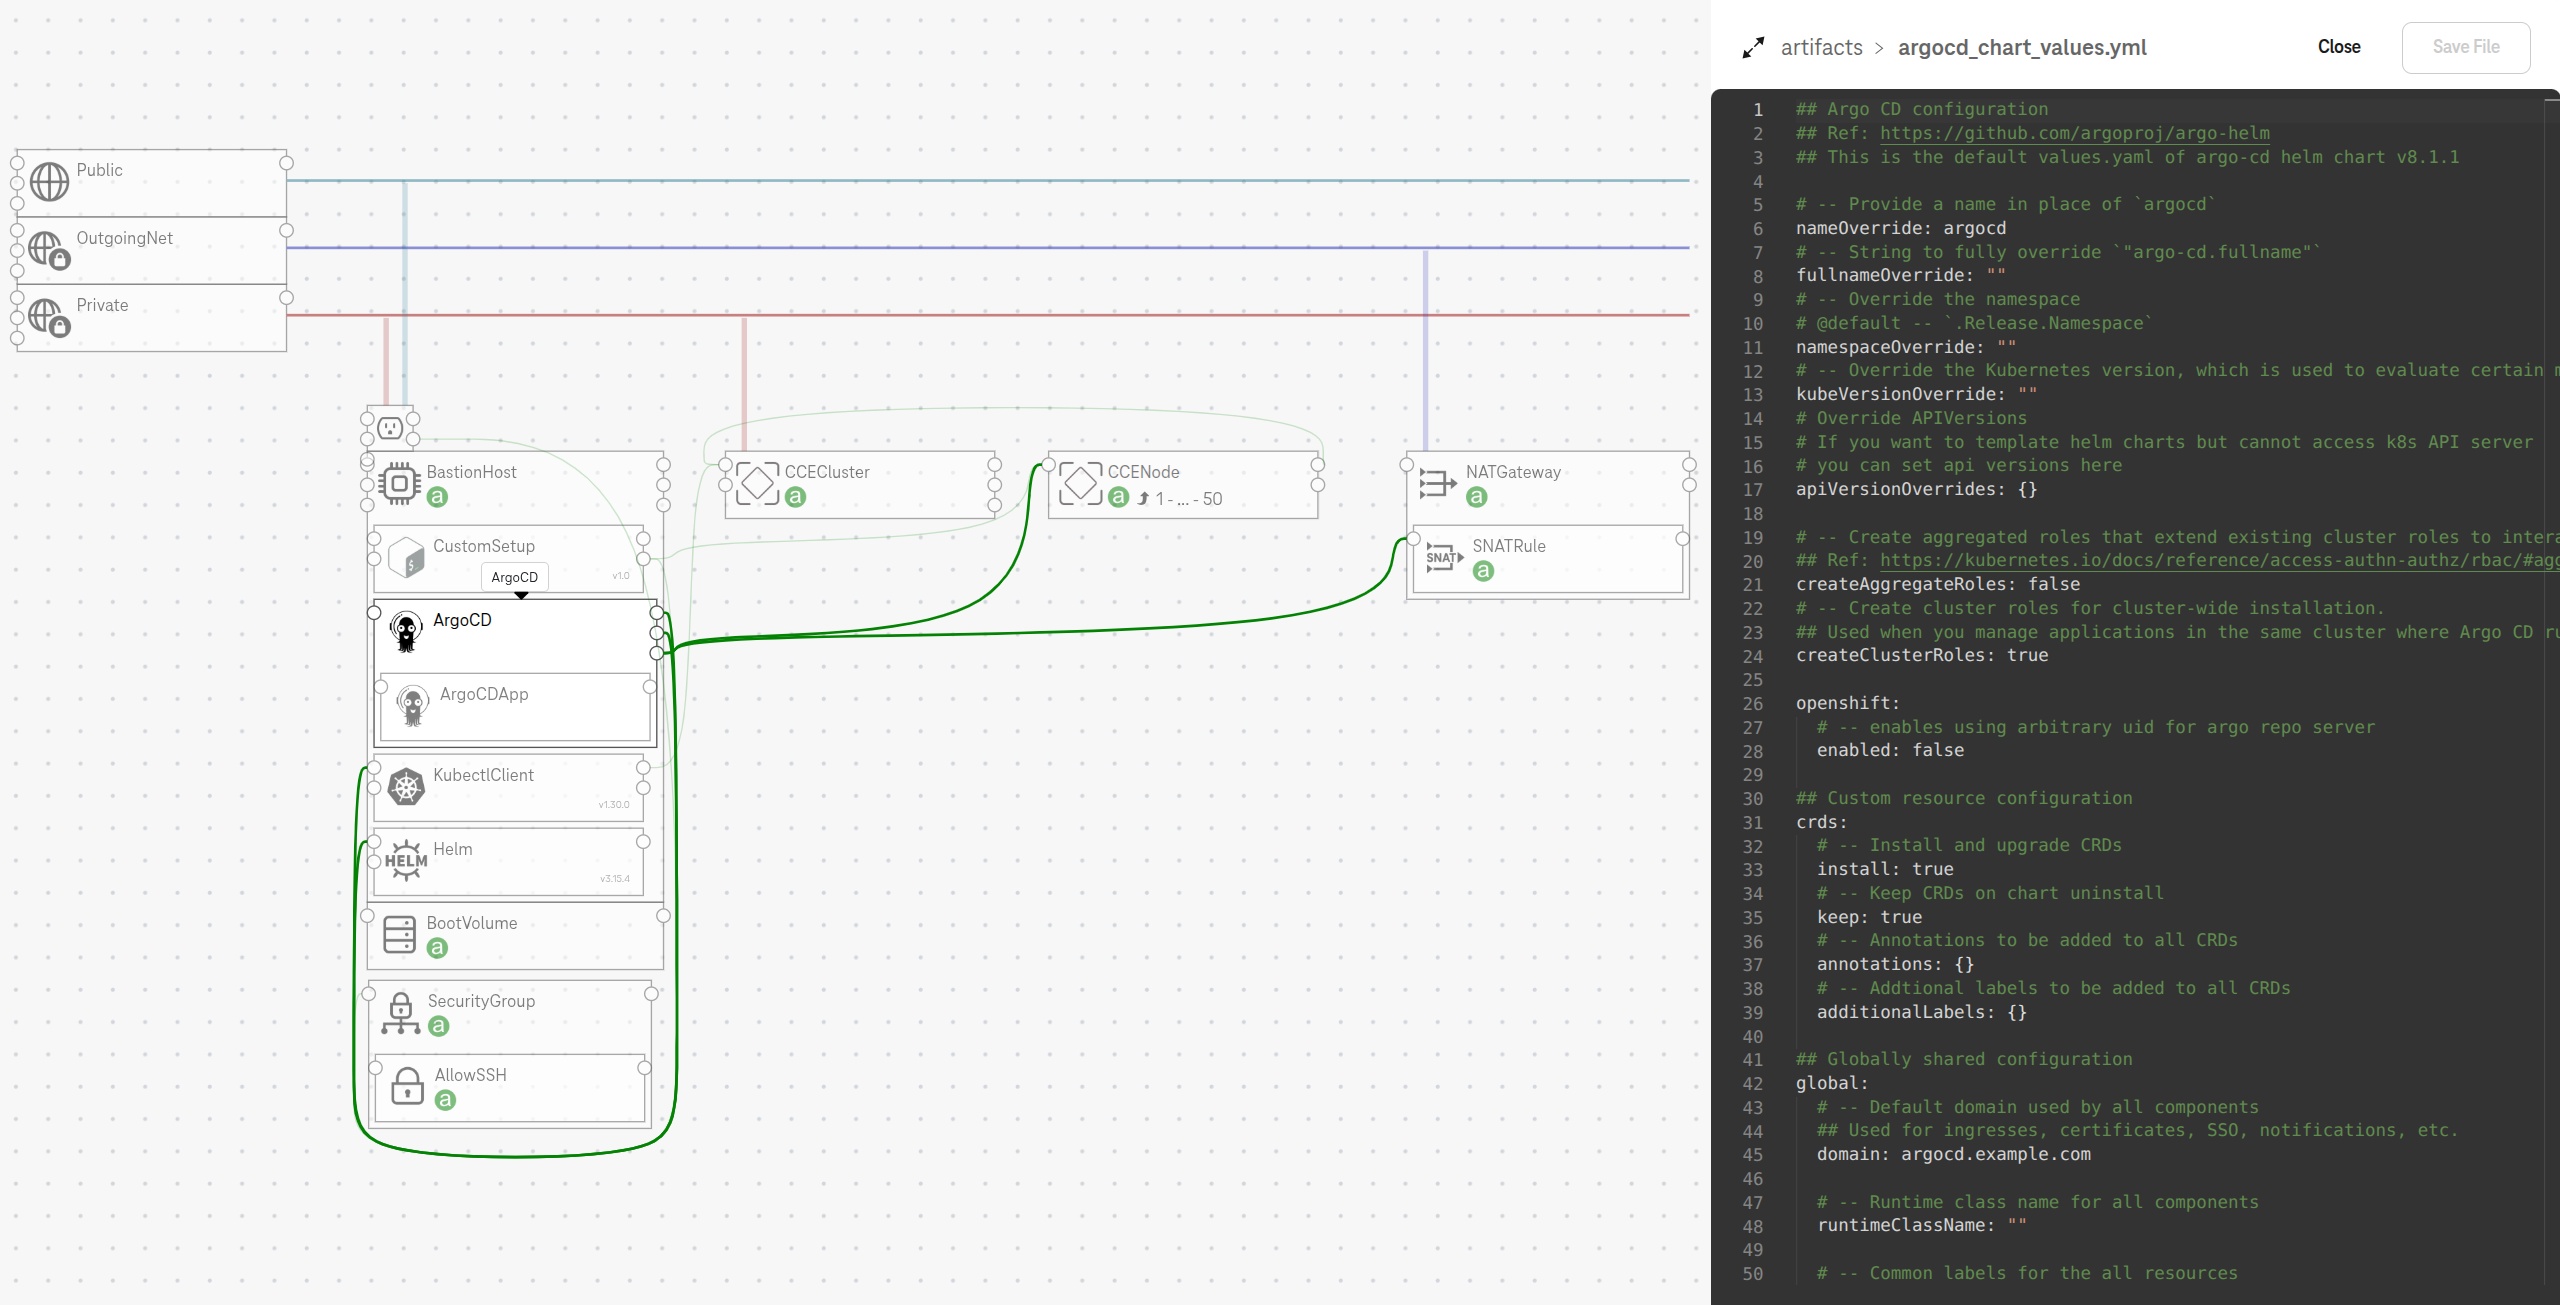
Figure 10. Update helm chart values of Argo CD
Tip
To customize the CCE cluster for your needs, see the Cloud Container Engine template.