Using a Custom Access Key (AK/SK) to Mount an OBS Volume
Scenario
CCE Container Storage (Everest) of version 1.2.8 or later supports custom access keys. In this way, IAM users can use their own custom access keys to mount an OBS volume.
Prerequisites
The CCE Container Storage (Everest) add-on version must be 1.2.8 or later.
The cluster version must be 1.15.11 or later.
Constraints
When an OBS volume is mounted using a custom access key (AK/SK), the access key cannot be deleted or disabled. Otherwise, the service container cannot access the mounted OBS volume.
Custom access keys cannot be configured for Kata containers.
Disabling Auto Key Mounting
The key you uploaded is used by default when mounting an OBS volume. That is, all IAM users under your account will use the same key to mount OBS buckets, and they have the same permissions on buckets. This setting does not allow you to configure differentiated permissions for different IAM users.
If you have uploaded the AK/SK, disable the automatic mounting of access keys by enabling the disable_auto_mount_secret parameter in the Everest add-on to prevent IAM users from performing unauthorized operations. In this way, the access keys uploaded on the console will not be used when creating OBS volumes.
Note
When enabling disable-auto-mount-secret, ensure that no OBS volume exists in the cluster. A workload mounted with an OBS volume, when scaled or restarted, will fail to remount the OBS volume because it needs to specify the access key but is prohibited by disable-auto-mount-secret.
If disable-auto-mount-secret is set to true, an access key must be specified when a PV or PVC is created. Otherwise, the OBS volume fails to be mounted.
kubectl edit ds everest-csi-driver -nkube-system
Search for disable-auto-mount-secret and set it to true.

Run :wq to save the settings and exit. Wait until the pod is restarted.
Obtaining an Access Key
Log in to the console.
Hover the cursor over the username in the upper right corner and choose My Credentials from the drop-down list.
In the navigation pane, choose Access Keys.
Click Create Access Key. The Create Access Key dialog box is displayed.
Click OK to download the access key.
Creating a Secret Using an Access Key
Obtain an access key.
Encode the keys using Base64. (Assume that the AK is xxx and the SK is yyy.)
echo -n xxx|base64
echo -n yyy|base64
Record the encoded AK and SK.
Create a YAML file for the secret, for example, test-user.yaml.
apiVersion: v1
data:
  access.key: WE5WWVhVNU*****
  secret.key: Nnk4emJyZ0*****
kind: Secret
metadata:
  name: test-user
  namespace: default
  labels:
    secret.kubernetes.io/used-by: csi
type: cfe/secure-opaque
Specifically:
Parameter
Description
access.key
Base64-encoded AK.
secret.key
Base64-encoded SK.
name
Secret name.
namespace
Namespace of the secret.
secret.kubernetes.io/used-by: csi
Add this label in the YAML file if you want to make it available on the CCE console when you create an OBS PV/PVC.
type
Secret type. The value must be cfe/secure-opaque.
When this type is used, the data entered by users is automatically encrypted.
Create the secret.
kubectl create -f test-user.yaml
Mounting a Secret When Statically Creating an OBS Volume
After a secret is created using the AK/SK, you can associate the secret with the PV to be created and then use the AK/SK in the secret to mount an OBS volume.
Log in to the OBS console, create an OBS bucket, and record the bucket name and storage class. The parallel file system is used as an example.
Create a YAML file for the PV, for example, pv-example.yaml.
apiVersion: v1
kind: PersistentVolume
metadata:
  name: pv-obs-example
  annotations:
    pv.kubernetes.io/provisioned-by: everest-csi-provisioner
spec:
  accessModes:
  - ReadWriteMany
  capacity:
    storage: 1Gi
  csi:
    nodePublishSecretRef:
      name: test-user
      namespace: default
    driver: obs.csi.everest.io
    fsType: obsfs
    volumeAttributes:
      everest.io/obs-volume-type: STANDARD
      everest.io/region: eu-de
      storage.kubernetes.io/csiProvisionerIdentity: everest-csi-provisioner
    volumeHandle: obs-normal-static-pv
  persistentVolumeReclaimPolicy: Delete
  storageClassName: csi-obs
Parameter
Description
nodePublishSecretRef
Secret specified during the mounting.
name: name of the secret
namespace: namespace of the secret
fsType
File type. The value can be obsfs or s3fs. If the value is s3fs, an OBS bucket is created and mounted using s3fs. If the value is obsfs, an OBS parallel file system is created and mounted using obsfs. You are advised to set this field to obsfs.
volumeHandle
OBS bucket name.
Create a PV.
kubectl create -f pv-example.yaml
After a PV is created, you can create a PVC and associate it with the PV.
Create a YAML file for the PVC, for example, pvc-example.yaml.
Example YAML file for the PVC:
apiVersion: v1
kind: PersistentVolumeClaim
metadata:
  annotations:
    csi.storage.k8s.io/node-publish-secret-name: test-user
    csi.storage.k8s.io/node-publish-secret-namespace: default
    volume.beta.kubernetes.io/storage-provisioner: everest-csi-provisioner
    everest.io/obs-volume-type: STANDARD
    csi.storage.k8s.io/fstype: obsfs
  name: obs-secret
  namespace: default
spec:
  accessModes:
  - ReadWriteMany
  resources:
    requests:
      storage: 1Gi
  storageClassName: csi-obs
  volumeName: pv-obs-example
Parameter
Description
csi.storage.k8s.io/node-publish-secret-name
Name of the secret
csi.storage.k8s.io/node-publish-secret-namespace
Namespace of the secret
Create a PVC.
kubectl create -f pvc-example.yaml
After the PVC is created, you can create a workload and associate it with the PVC to create volumes.
Mounting a Secret When Dynamically Creating an OBS Volume
When dynamically creating an OBS volume, you can use the following method to specify a secret:
Create a YAML file for the PVC, for example, pvc-example.yaml.
apiVersion: v1
kind: PersistentVolumeClaim
metadata:
  annotations:
    csi.storage.k8s.io/node-publish-secret-name: test-user
    csi.storage.k8s.io/node-publish-secret-namespace: default
    everest.io/obs-volume-type: STANDARD
    csi.storage.k8s.io/fstype: obsfs
  name: obs-secret
  namespace: default
spec:
  accessModes:
  - ReadWriteMany
  resources:
    requests:
      storage: 1Gi
  storageClassName: csi-obs
Parameter
Description
csi.storage.k8s.io/node-publish-secret-name
Name of the secret
csi.storage.k8s.io/node-publish-secret-namespace
Namespace of the secret
Create a PVC.
kubectl create -f pvc-example.yaml
After the PVC is created, you can create a workload and associate it with the PVC to create volumes.
Verification
You can use a secret of an IAM user to mount an OBS volume. Assume that a workload named obs-secret is created, the mount path in the container is /temp, and the IAM user has the CCE ReadOnlyAccess and Tenant Guest permissions.
Query the name of the workload pod.
kubectl get po | grep obs-secret
Expected outputs:
obs-secret-5cd558f76f-vxslv 1/1 Running 0 3m22s
Query the objects in the mount path. In this example, the query is successful.
kubectl exec obs-secret-5cd558f76f-vxslv -- ls -l /temp/
Write data into the mount path. In this example, the write operation failed.
kubectl exec obs-secret-5cd558f76f-vxslv -- touch /temp/test
Expected outputs:
touch: setting times of '/temp/test': No such file or directory
command terminated with exit code 1
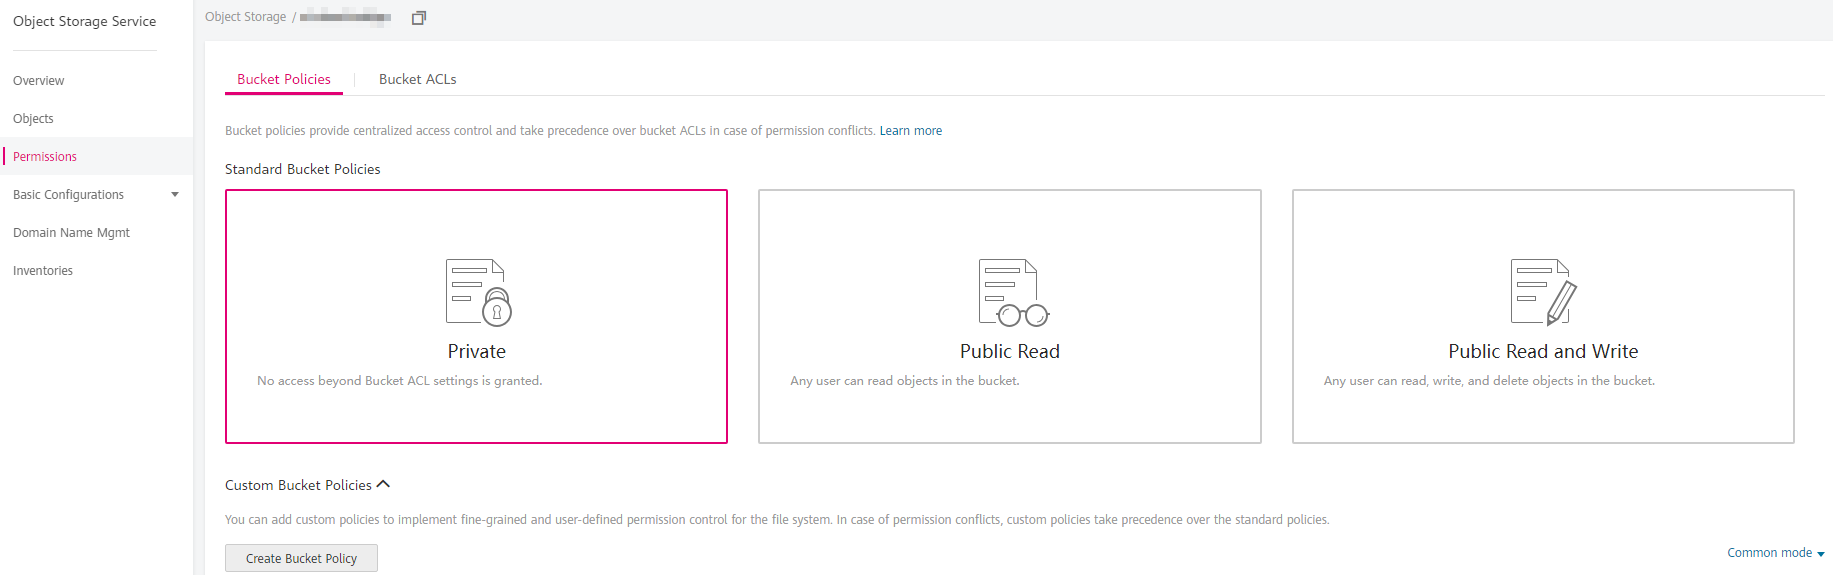
Set the read/write permissions for the IAM user who mounted the OBS volume by referring to the bucket policy configuration.
Write data into the mount path again. In this example, the write operation succeeded.
kubectl exec obs-secret-5cd558f76f-vxslv -- touch /temp/test
Check the mount path in the container to see whether the data is successfully written.
kubectl exec obs-secret-5cd558f76f-vxslv -- ls -l /temp/
Expected outputs:
-rwxrwxrwx 1 root root 0 Jun 7 01:52 test