Creating a WordPress Workload
WordPress was originally a blog platform based on PHP and MySQL. It is gradually evolved into a content management system. You can set up your own blog website on any server that supports PHP and MySQL. Thousands of plug-ins and countless theme templates are available for WordPress and easy to install.
This section describes how to create a public WordPress website from images.
Prerequisites
You have created a CCE cluster that contains a node with 4 vCPUs and 8 GiB memory. For details on how to create a cluster, see Creating a Kubernetes Cluster.
The MySQL database has been created by following the instructions in Creating a MySQL Workload. In this example, WordPress data is stored in the MySQL database.
Operations on the Console
Log in to the CCE console.
Click the name of the target cluster to access the cluster console.
In the navigation pane, choose Workloads. Then, click Create Workload.
Configure parameters as promoted.
Basic Info
Workload Type: Select Deployment.
Workload Name: Enter wordpress in the text box.
Namespace: Select default.
Pods: Set this parameter to 2 in this example.
Container Settings
Enter wordpress:php7.3 in the Image Name text box.
Add environment variables.
WordPress will get the information about the MySQL database with the following variables.
WORDPRESS_DB_HOST: address for accessing the database, which can be found in the Service (on the Services tab page) of the MySQL workload. You can use the internal domain name mysql.default.svc.cluster.local:3306 to access the database, or use only mysql:3306 omitting .default.svc.cluster.local.
WORDPRESS_DB_USER: username for accessing the database. The value must be the same as that of MYSQL_USER in Creating a MySQL Workload, which is used to access MySQL.
WORDPRESS_DB_PASSWORD: password for accessing the database. The value must be the same as that of MYSQL_PASSWORD in Creating a MySQL Workload.
WORDPRESS_DB_NAME: name of the database to be accessed. The value must be the same as that of MYSQL_DATABASE in Creating a MySQL Workload.
Service Settings
Click the plus sign (+) to create a Service for accessing the workload from an external network. This example shows how to create a LoadBalancer. Configure the following parameters in the window that slides out from the right:
Service Name: name of the Service exposed to external networks. In this example, the Service name is wordpress.
Service Type: Select LoadBalancer.
Service Affinity: Retain the default value.
Load Balancer: If a load balancer is available, select an existing load balancer. If not, click Create Load Balancer to create one on the ELB console.
Ports:
Protocol: Select TCP.
Service Port: Set this parameter to 80, which is mapped to the container port.
Container Port: port on which the application listens. For containers created using the wordpress image, set this parameter to 80. For other applications, set this parameter to the port of the application.
Click Create Workload.
Wait until the workload is created.
The created Deployment will be displayed on the Deployments tab.
Accessing WordPress
Obtain the external access address of WordPress.
Click the wordpress workload name to enter its details page. On the page displayed, click the Access Mode tab, view the IP address of WordPress. The public IP address is the external access address.
Enter the external access address in the address box of a browser to access WordPress.
The following figure shows the accessed WordPress page.
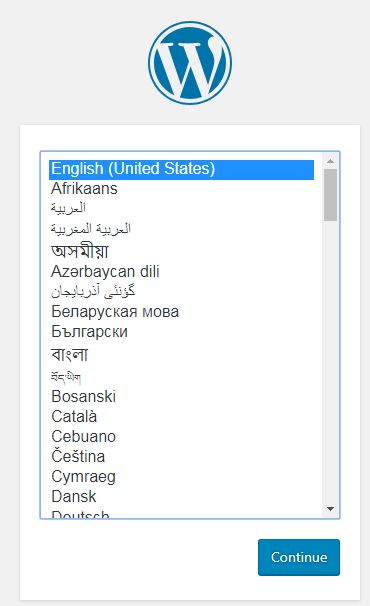
Figure 1 WordPress
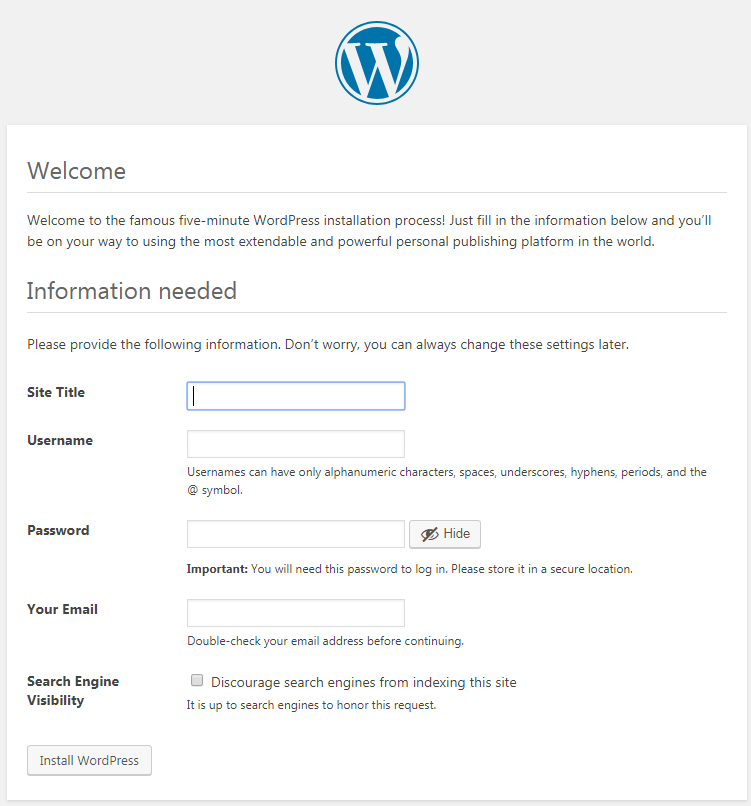
Figure 2 WordPress
Deleting Resources
Until now, you have completed all the Getting Started walkthroughs and have understood how to use CCE. Fees are incurred while nodes are running. If you will continue the CCE walkthroughs, retain the clusters. If the clusters used in the walkthroughs are no longer in use, perform the following steps to delete them:
Log in to the CCE console.
In the navigation pane, choose Clusters.
Click
 next to the cluster to be deleted, select Delete Cluster, and confirm the information as prompted.