Managing Vault Tags
You can add, edit, or delete tags of a vault. Vault tags are used to filter and manage vaults only.
Procedure
Log in to CBR Console.
Log in to the management console.
Click
 in the upper left corner and select a region.
Click
 and choose Storage > Cloud Backup and Recovery. Select a backup type from the left navigation pane.
On the Vaults tab, click the name of the target vault and then select the Tags tab.
Adding a tag
Click Add Tag in the upper left corner.
In the displayed dialog box, enter the key and value of the new tag.
Tags are key-value pairs, which are used to identify, classify, and search for vaults. You can add a maximum of 20 tags for a vault, and vault tags are only used for vault search and management. See Figure 1.
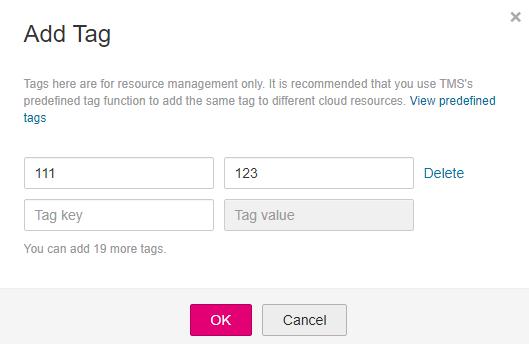
Figure 1 Adding a tag
Table 1 describes the parameters of a tag.
Table 1 Tag parameter description¶ Parameter
Description
Example Value
Key
Tag key. Each tag of a vault has a unique key. You can customize a key or select the key of an existing tag created in TMS.
A tag key:
Can contain 1 to 36 Unicode characters.
Can contain only letters, digits, hyphens (-), and underscores (_).
Key_0001
Value
A tag value can be repetitive or left blank.
A tag value:
Can contain 0 to 43 Unicode characters.
Can contain only letters, digits, hyphens (-), and underscores (_).
Value_0001
Click OK.
Editing a tag
In the Operation column of the tag that you want to edit, click Edit.
In the displayed Edit Tag dialog box, enter a new tag value. Table 1 describes the parameters.
Click OK.
Deleting a tag
In the Operation column of the tag that you want to delete, click Delete.
In the displayed dialog box, confirm the deletion information.
Click Yes.